In today's competitive market, captivating visuals are paramount to success, and color gel photography offers a powerful tool to enhance your product images. This guide is designed to unlock the secrets of color gel photography and help you create stunning, eye-catching product photos. Join us as we delve into the world of vibrant hues, creative lighting techniques, and expert tips that will undoubtedly leave a lasting impression on your audience and give your products the attention they deserve. Let's embark on this colorful journey and transform your product images into true works of art!
In this article
-
- Color gels can melt when placed on a hot light source.
- Gels reduce the light output.
- Placing your light sources closer to your subject will help give you more saturated colors.
- You can layer color gels to create new colors; however, it will block more light.
- It's best to trigger flash wirelessly.
- Add an external Flash and use different flash positions.
Color Gel Photography Basics
In photography, vibrant, complementary colors are becoming increasingly popular. Contemporary advertising campaigns frequently use Bold and contrasting colors to draw attention to the sold message or item. Color gel photography is an innovative technique that allows photographers to unleash their creativity and control the ambiance of their images like never before. Gels come in two varieties: creative gels and corrective gels.
1. Creative Color Effects Gel
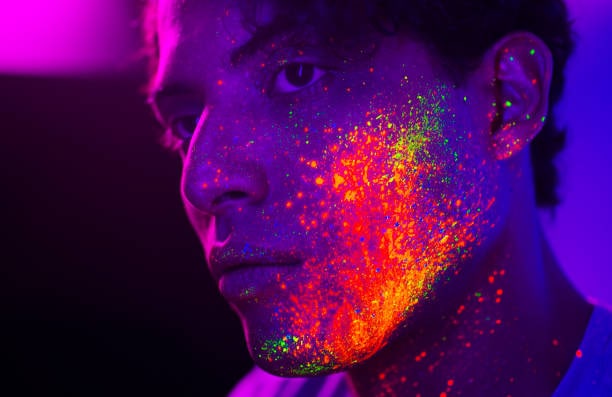
Creative Color Effects Gel is used to add creative lighting to the picture and is ideal for adding a personal touch to your picture. These gels come in striking hues, from bold reds and blues to soft pastels, providing endless opportunities for creative expression.
When placed in front of a light source, such as a flash or continuous light, the color gel infuses the scene with the chosen color, casting captivating shadows and highlights. This gel type is perfect for portrait photography, fashion shoots, and artistic projects where you want to evoke a specific mood or create a visually captivating and distinctive look.
2. Temperature Correction Gels
Temperature Correction Gels, also known as color correction gels, adjust the light source's color temperature, making it warmer or colder. They come in shades of blue and orange, each designed to either cool down (blue gels) or warm up (orange gels) the light emitted by the source. These gels are incredibly useful when ambient lighting conditions clash with the desired color temperature.
For instance, when shooting indoors with tungsten lighting, which tends to be warm in tone, a blue gel can be placed over the light source to neutralize the warmth and achieve a more balanced and natural-looking light. Conversely, when shooting outdoors in the shade or during the golden hour, an orange gel can counteract the cool blue tones and add warmth to the scene.
Things To Remember When Working with Color Gels
Color gels are powerful tools that can add a touch of magic and creativity to your images, but they come with their own considerations to ensure successful and impactful results. Here are some key things to remember in color gel photography to ensure successful and impactful results:
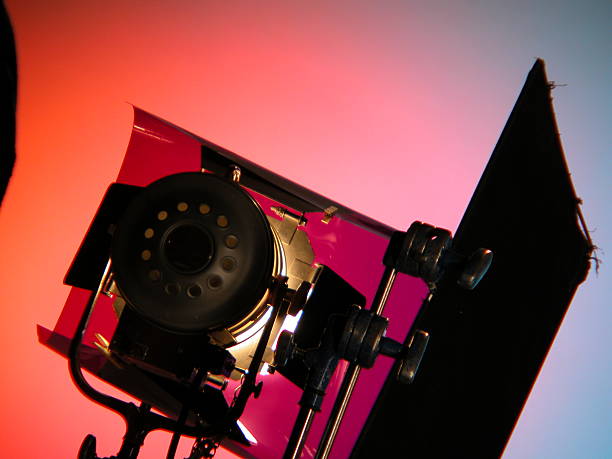
1. Color gels can melt when placed on a hot light source.
Color gels are susceptible to melting when placed on hot light sources, such as powerful studio strobes or continuous lights. To avoid damage to the gels, opt for gels specifically designed for high-temperature environments or use lower-powered lights to reduce the risk of melting. It is advisable to buy premium, heat-resistant gels designed for movie lighting or to avoid using modeling lamps unless they are LED lights with adequate cooling.
2. Gels reduce the light output.
Remember that color gels will reduce the overall light output from your light sources. Gels can be considered barriers that block some of the light's power. As a result, a yellow gel only reduces light by half a stop, while a blue gel reduces light by four stops.
You might want to use gels on your strongest light and intuitively turn up the power. It's essential to compensate for this reduction by adjusting your camera settings, such as aperture and ISO, or using a slower shutter speed to maintain the desired exposure.
3. Placing your light sources closer to your subject will help give you more saturated colors.
Placing your light sources closer to your subject can help intensify the colors the color gels produce. The closer the light source, the more saturated the colors appear in your final images. Your subject will remain in neutral tones with a normal key light while the exciting effect around the edge of their body is created.
4. You can layer color gels to create new colors; however, it will block more light.
Experimenting with multiple color gels can open up a world of creative possibilities. You can create new colors and unique visual effects by layering different gels. When you want even grades of the same color behind them, you can also place them on either side of your subject. However, remember that each gel layer will block some light, so be mindful of your light source's intensity.
5. It's best to trigger flash wirelessly.
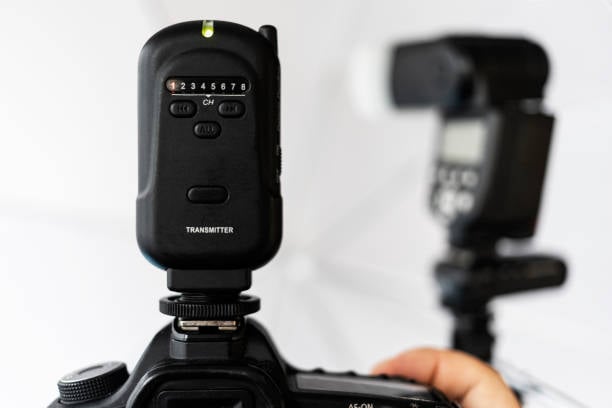
For greater flexibility and ease of use, consider triggering your flashes wirelessly. Take into account purchasing remote triggers. These attachments allow you to remotely trigger your speedlight and camera. Your camera's hot shoe should have your transmitter attached to it. The flash unit and receiver should then be connected. You should see your speedlight activate as soon as you press the shutter. This lets you position your lights strategically without being tethered to cables, offering more freedom in your shooting setup.
6. Add an external Flash and use different flash positions.
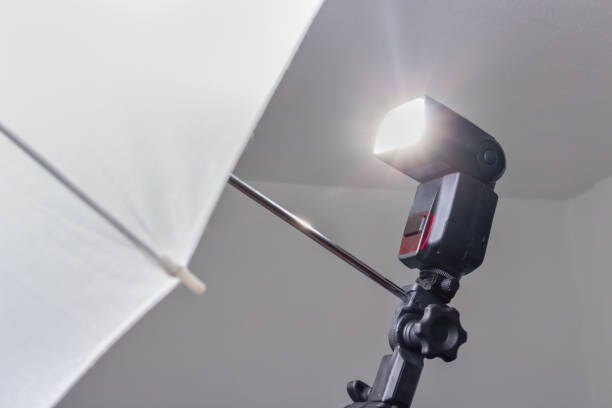
If you're using a camera with a built-in flash, it's worth investing in an external flash unit. External flashes typically have more power and versatility, allowing for better control over the lighting and color gel effects. Experiment with different flash positions (on-camera, off-camera, bounced off surfaces) to achieve diverse and dynamic results.
Use Color Gel Photography to Improve Your Product Images
Incorporating color gels into your product photography can be a game-changer, infusing your images with creativity and magic. There are no restrictions on using color gels; the key is experimentation! However, you can use some tried-and-true techniques to get started.
-
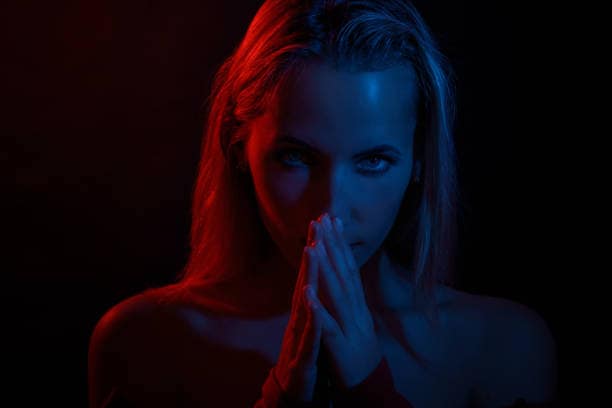
Use Color Gels on a Fill Light to create atmospheric shots.
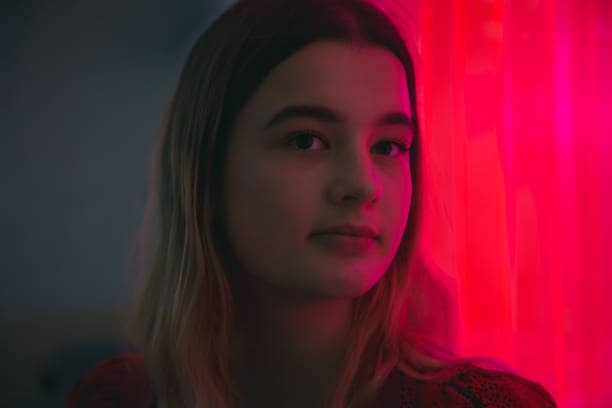
Fill lights are intended to eliminate shadows while remaining "invisible" in themselves. Using your flash to bounce into the ceiling and illuminate the entire space is a great way to fill a photo.
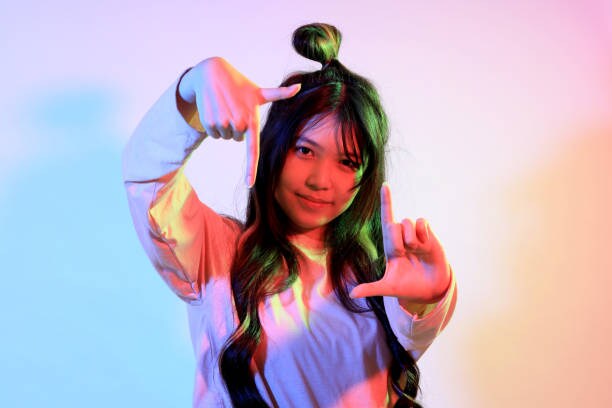
Utilize color gels on a fill light to create captivating, atmospheric shots. Adding a color gel to a secondary light source, such as a fill or background light, can cast a subtle, complementary hue over the scene. This method can give your product images depth and dimension, making them visually appealing and conjuring up a particular feeling or atmosphere.
-
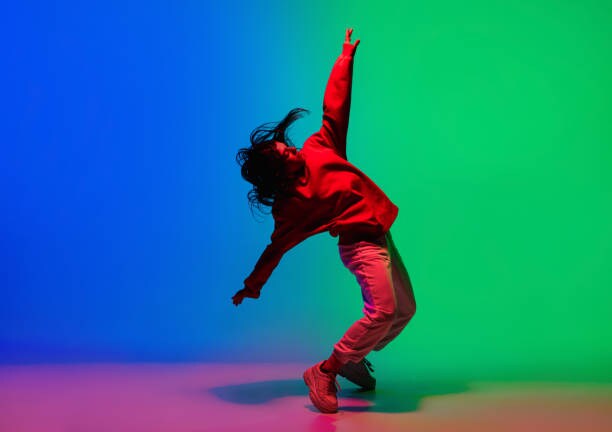
Use Color Gels to create a beautiful gradient background.
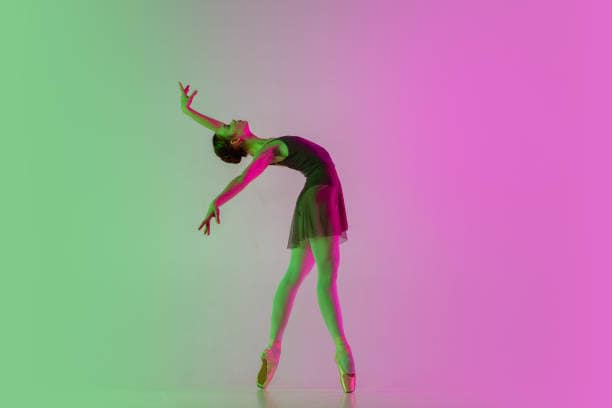
The most well-known application of light gels is to give a model's background a gradient appearance by illuminating, coloring, and saturating it. Color gels offer an excellent opportunity to create stunning gradient backgrounds for your product shots. By placing different color gels on separate lights or using a single light with a gradient filter, you can achieve a seamless blend of colors in the background. This technique adds visual interest and enhances the overall aesthetic appeal of your product images.
-
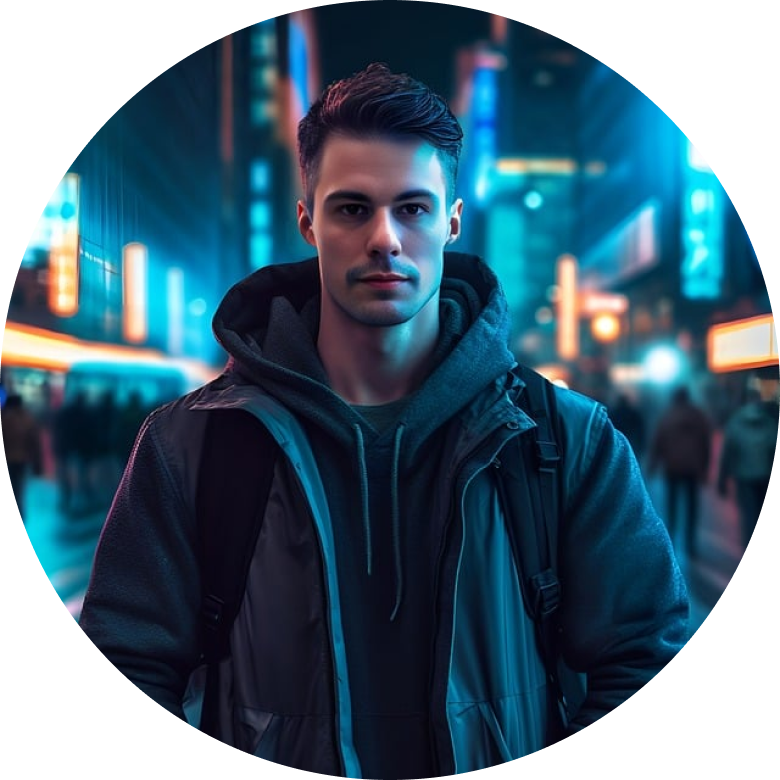
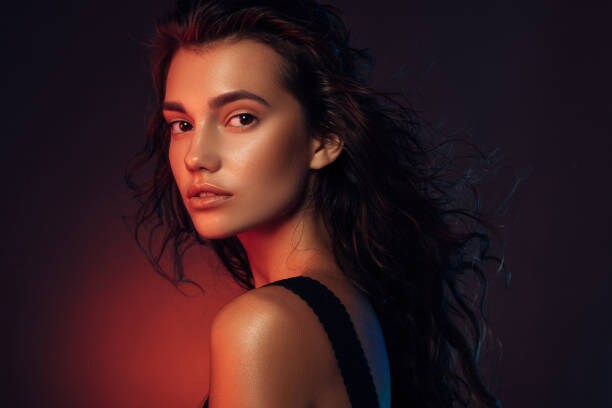
Use Color Gels to add a subtle glow to the subject.
Tap Into the Power of Color Gel Photography More Conveniently With Wondershare VirtuLook
While color gel photography undeniably enhances photos with vibrant hues and creative lighting effects, it can also be complex and expensive, requiring specialized equipment like light bulbs, cameras, and a collection of color gels. But fret not because Wondershare VirtuLook is here to simplify the process and effortlessly replicate the stunning effects of color gel photography.
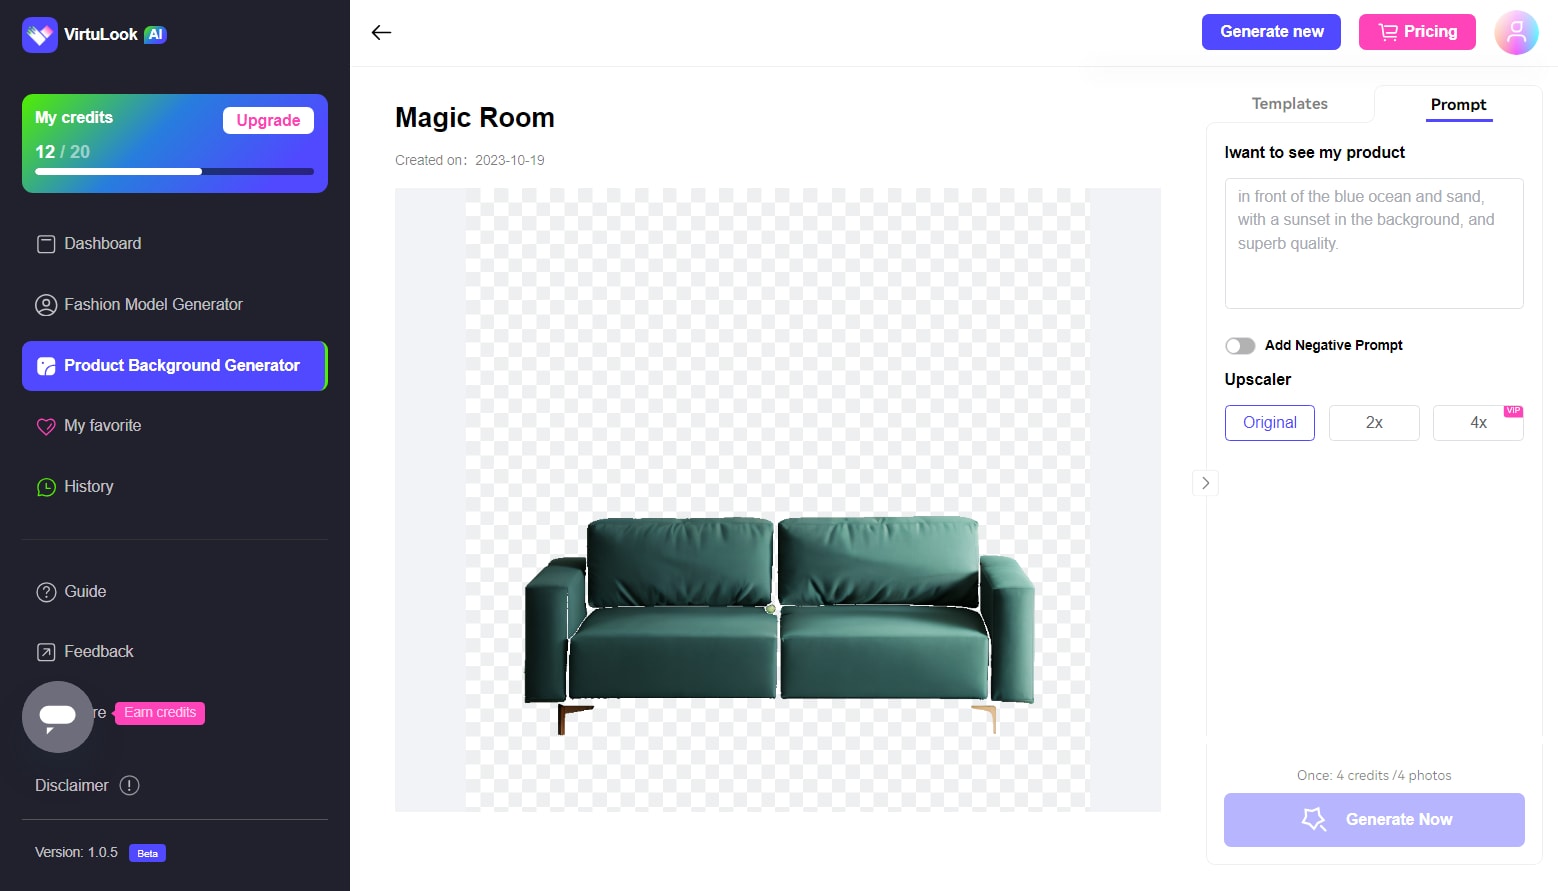
Wondershare VirtuLook is an advanced AI-powered tool designed to empower photographers and creators of all levels to achieve professional-grade results without the hassle of traditional color gel photography. With Wondershare VirtuLook, you can seamlessly infuse your photos with captivating colors and unique lighting effects, all from the convenience of your computer.
Harness the power of AI to effortlessly replicate the vibrant and artistic effects of color gel photography. Wondershare VirtuLook can mimic the look of color gels without requiring any physical gels or additional equipment. Tailor the color gel effects to suit your specific preferences and creative vision. Adjust the intensity of colors, experiment with different lighting styles, and fine-tune the look until it's perfect.
Tap into the captivating world of color gel photography more conveniently and affordably with the cutting-edge technology of Wondershare VirtuLook. Here’s how:
Step 1. Start by visiting the official website of Wondershare VirtuLook from your web browser or your device.

Step 2. Once logged in, click to upload your sample images.
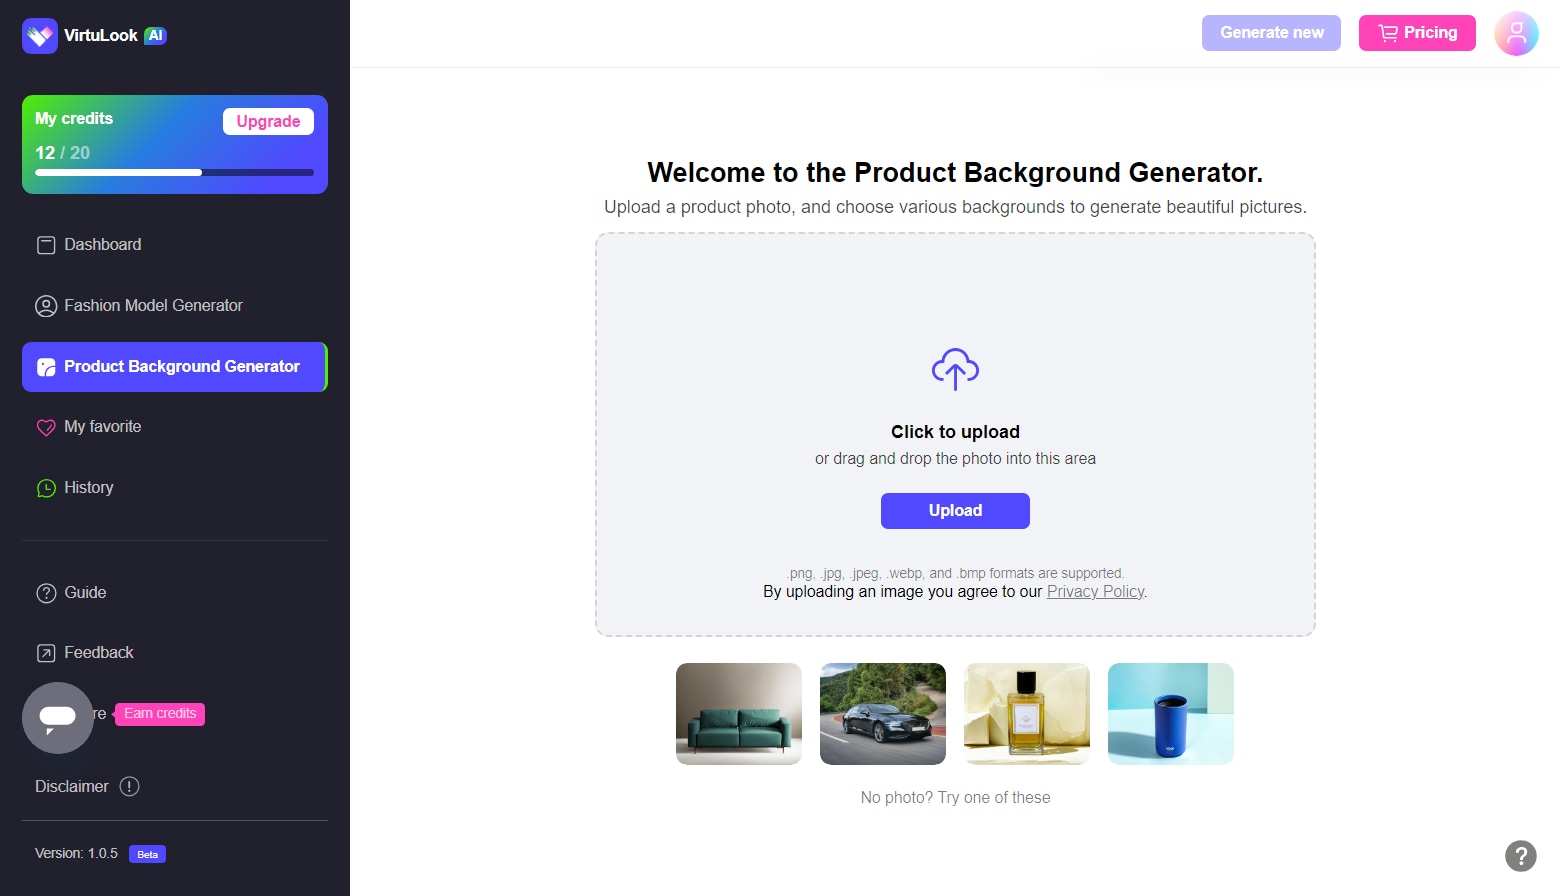
Step 3. In Custom Editing, write a text prompt and outline your vision for the output.

Step 4. Once satisfied with the enhancement, click Cast the Spell and save the final image.
Conclusion
Color gel photography is all about experimentation and creativity. Don't be afraid to try new combinations of gels, light positions, and subjects to discover unique and captivating visuals. So, let your imagination run wild, and let Wondershare VirtuLook become your secret weapon in creating visually captivating product images.