If you have a clothing brand, you probably know a clothing photoshoot is important for your success. However, it can be difficult to figure out where to start. This post will guide you through planning and organizing a photo shoot for your clothing brand.
By following these steps, you'll be well on your way to organizing a fashion photoshoot that presents your clothing brand in the best possible way.
In this article
Particulars of a Photoshoot Process for a Clothing Brand
Product photography follows specific rules in every industry, and the fashion industry, which includes clothing, shoes, and accessories, is no exception. Let's quickly go over the important aspects of a clothing brand photoshoot:
- It often involves models for lifestyle and editorial photo sessions.
- There must be a theme and strict adherence to the brand's guidelines and the collection's mood.
- Props in a specific style and color scheme are required.
- It's preferable to have photos taken outside the studio, such as on the street, in nature, or public spaces.
- The photos cover everything from close-up shots of the smallest details to group photos of the entire collection and action shots of models.
Types of Photoshoots for Clothing Online Store
When planning a photoshoot for a clothing brand, marketers need to clearly understand where the resulting images will be used: on product pages, in a fashion blog, on social media, or in an article.
Understanding the purpose of the photoshoot helps determine the most suitable type of shoot. Consider how much of a story you want to convey through the images. It's important to understand to choose the most suitable type of clothing product photography. Below, we list three major types of photoshoots:
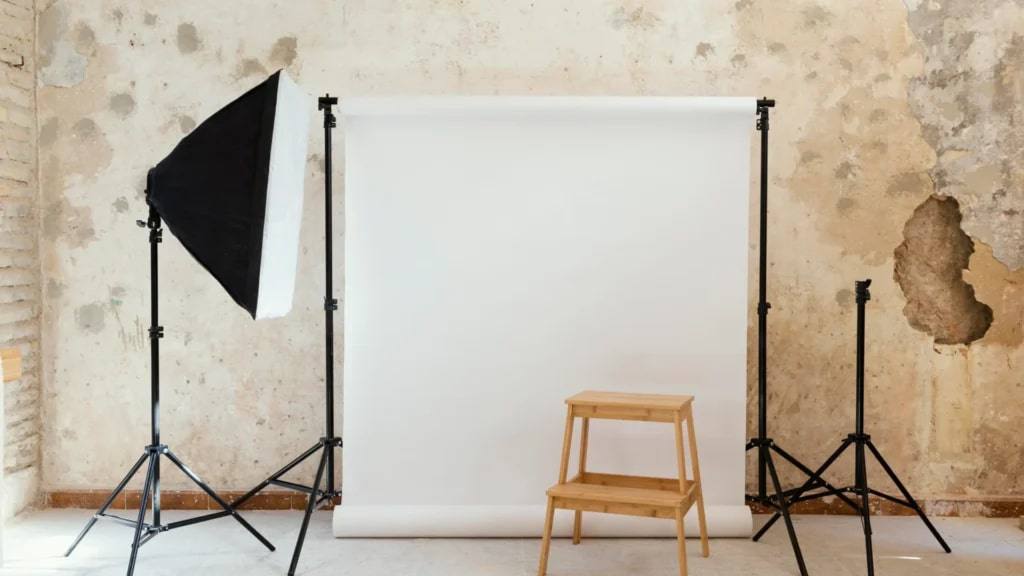
1. Clothing Photoshoot Against a Background
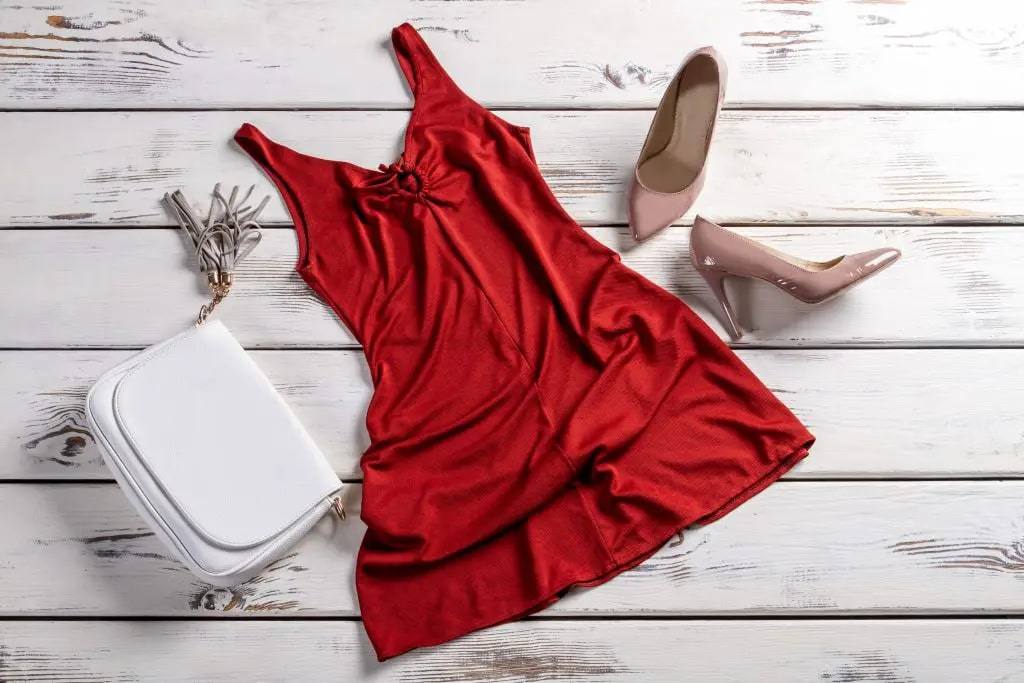
This is typically done against a white or light background in a clothing photography studio. The products are positioned flat on a table (flat lay mode), photographed on a ghost mannequin, or shot at eye level while hanging or pinned. Fashion creative directors and marketers often use this type of product photography for showcasing on a brand's website, product pages in an online store, or social media with additional text or graphics.
2 . Lifestyle Clothing Photoshoot
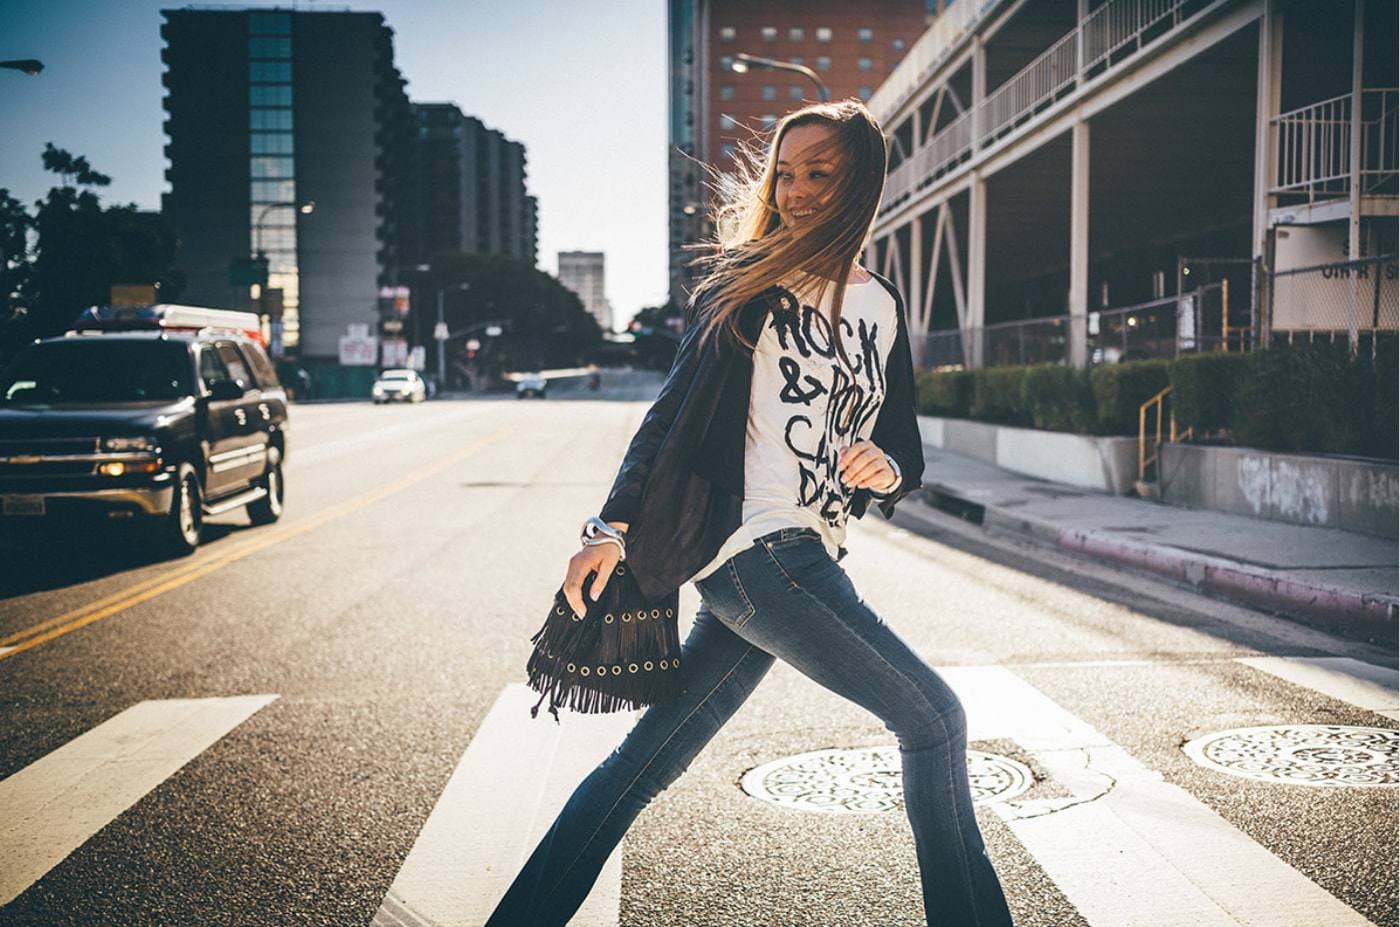
In this type of photoshoot, the focus is still on the product, but more context is provided by using models, real-life backgrounds, and props. It's a great way to connect and engage with the target audience by showcasing the clothing in a relatable setting.
3. Editorial Photography
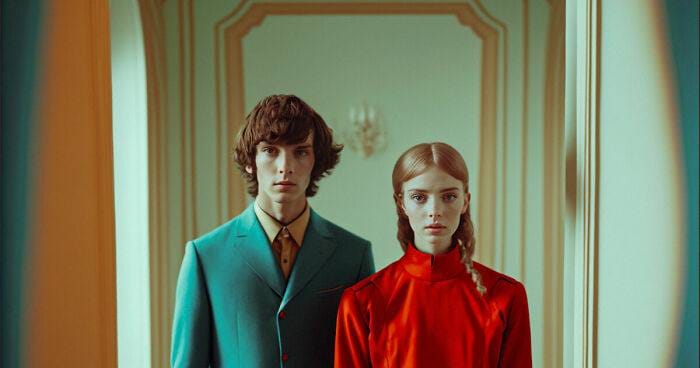
Editorial shoots go beyond just showcasing the product. They aim to convey the essence and story of the brand on a more abstract level. These photo sessions require careful planning and significant resources to create a unique brand image that stands out among countless others.
Due to their complexity and exclusivity, editorial shoots are the most expensive clothing product photography. They are typically used for fashion magazine interviews, prominent commercials, or during a brand launch.
How To Plan a Successful Clothing Photoshoot?
Here are the essential steps in planning for a successful clothing photoshoot.
Step 1. Create Clothing Brand Merchandise
For established clothing brands, creating merchandise is easier. But for beginners in fashion design, it can be more challenging. It's important to have various items in different colors and sizes to work with models that suit the job. Once your collection or line of products is ready, the next step is to take good pictures of them.
Step 2. Make a List of Products To Photograph
Preparing a list of all the items for the photo shoot is recommended to ensure a smooth process at the photo studio. Each product should be listed, making managing inventory, shipping, shooting, editing, and organizing the images easier.
The product list should include the following information:
- Category
- Subcategory
- Color
- Size
- Preparation requirements
- Positioning
- Background
- Number of images and angles
This list will also help estimate the costs and compare photographers when searching for one.
Step 3. Finding Models for the Clothing Photoshoot
If you choose to have models in your photoshoot, finding suitable ones can be time-consuming and resource intensive. Depending on your budget, you can source models from friends and family or hire them from a top modeling agency in your area.
Step 4. Design a Mood Board and Create References

Creating a mood board and sharing it with the entire team helps set the expectations and standards for the photoshoot. Apps like Pinterest and Instagram are great resources for finding inspiring images for the mood board.
Step 5. Find a Location for the Clothing Photoshoot
For most product photography, a well-equipped studio is sufficient. However, editorial and lifestyle photography may require more diverse backgrounds or specific locations. Luxury clothing brands often choose locations like castles, museums, city squares, rooftops, or natural settings. Mass-market clothing brands can opt for streets, nature, abandoned buildings, shopping malls, hotels, or cinemas.
Step 6. Find a Photographer
Finding a photographer for your clothing photography involves considering several important factors:
- Proximity to your warehouse to minimize shipping costs
- Experience and professionalism (check their website, Facebook page, and reviews)
- Availability to meet your deadlines
- Budget compatibility (keep in mind the return on investment)
Step 7. Plan the Photoshoot Day
Having a well-organized schedule, shoot list, and all necessary equipment ready will make the photoshoot day less stressful. Ensure that the entire team knows the schedule and that models know when and where to arrive. Reminders can be helpful for everyone involved.
Step 8. Execute the Photoshoot

On the day of the shoot, it's important to follow the plan and arrangements made beforehand. This guide was created to make the process easier for creative directors, marketing managers, and clothing online store owners. Reading and understanding the guide can help anticipate and address any potential issues.
Step 9. Edit the Images
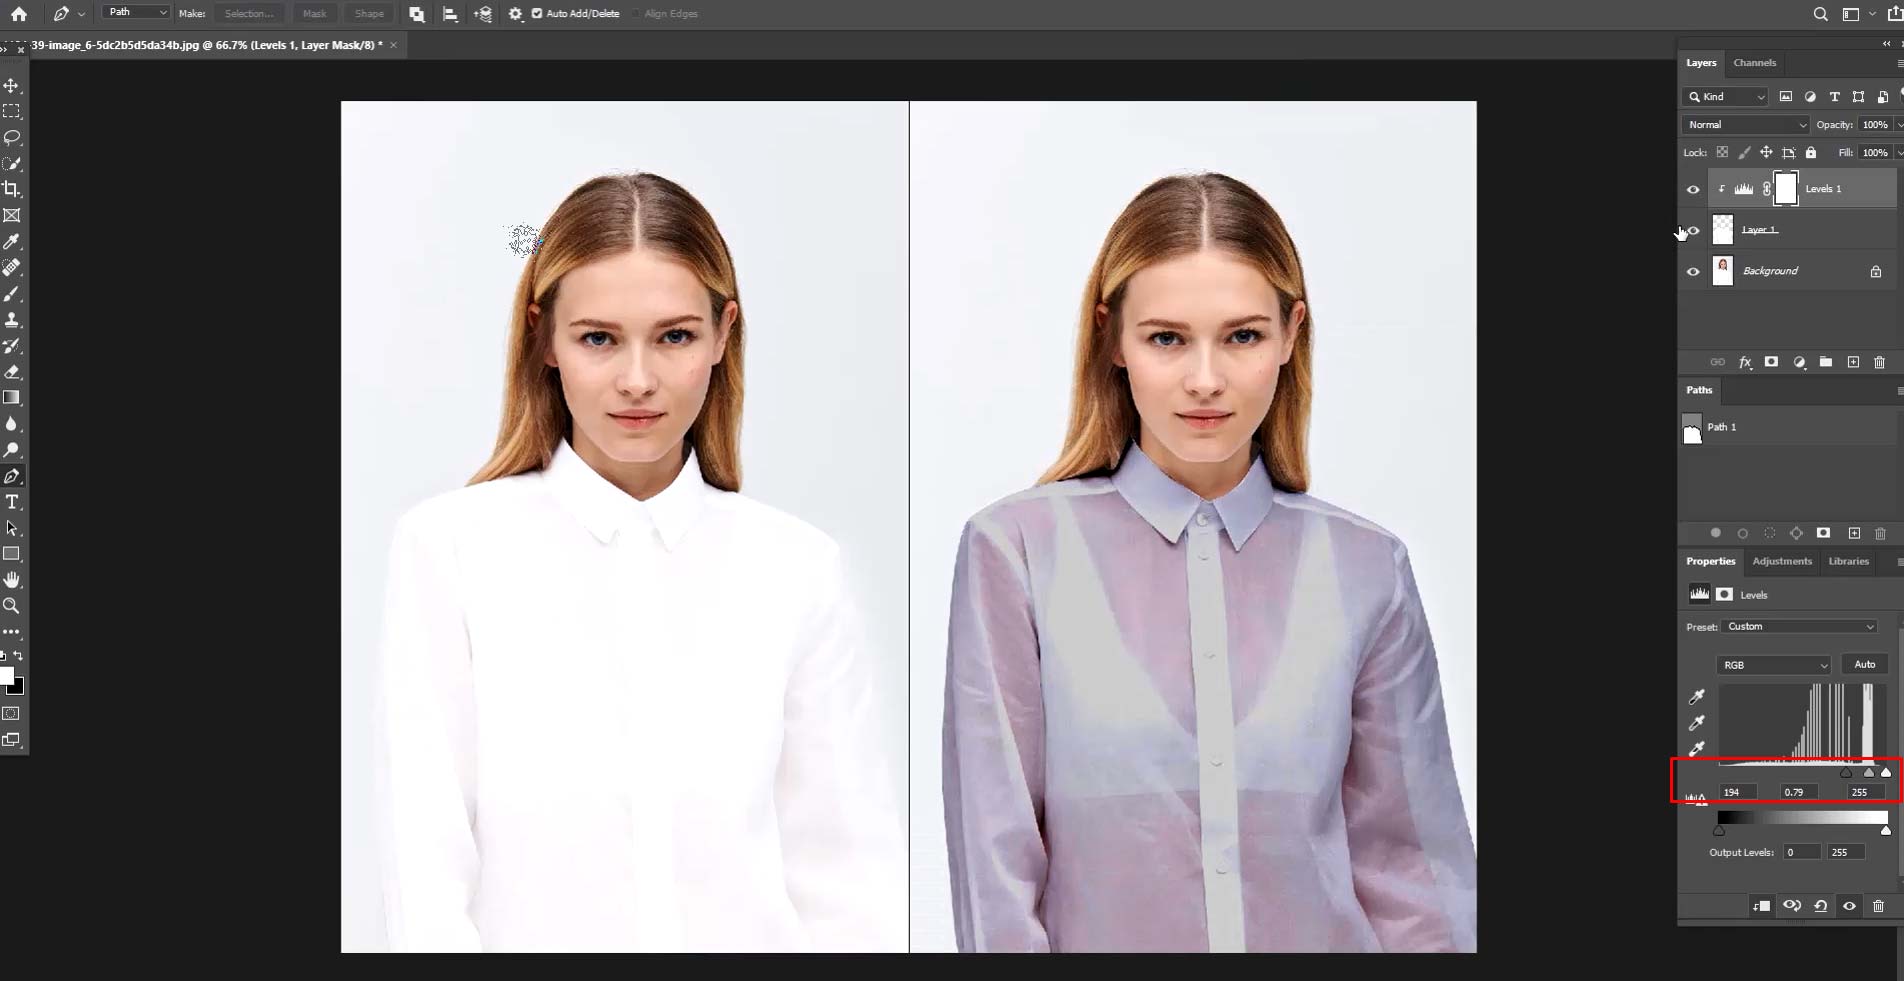
Editing time can vary depending on the budget, purpose, complexity, and type of photoshoot. It can range from 10 minutes to a few hours per image. Consider this time when planning the release of a new collection, so you can attend to other tasks while the images are being retouched.
Step 10. Share Images With the Target Audience
During the session, give your buyers a sneak peek of the photoshoot in real-time. Release the content in batches rather than all at once, spreading it out over time. Coordinate with models to ensure they don't share the images without your content or coordinate their social media activity for optimal results.
Diversify your channels, experiment with different editing styles, and combine graphics and text to present the same images in various formats and convey different messages.
How Much Does Photoshoots for Clothing Online Store Costs?
In the US market, which is highly advanced in ecommerce and online spending, the pricing for product images can range from $35 to several thousand dollars per image. The photographer's experience, reputation, and portfolio are significant factors that affect both the pricing and quality of the resulting images.
When planning a photoshoot, it's important to consider the costs of the team involved, studio rental, and shipping. These are all essential cost factors to take into account.
Product images are divided into two categories: single product photos and group product photos. Group product photos are images of two or more products in one shot. The rate per image tends to be higher for group product photos, as more products are included.
The pricing for a clothing photoshoot can vary depending on the type of shoot, complexity level, and the number and quality of the team involved. It can be charged based on the following:
- Hourly or daily rates
- Per image rates (usually with discounts for larger quantities)
- Per product rates (more complex or challenging products may incur higher costs)
Read more: Pricing for product photography
Use the Best AI product Photography Tool: A Cost-Effective & Convenient Option
If you want a more affordable and convenient option, using AI fashion photography tools is a smart choice. With advanced technology like artificial intelligence, you can make your product photography process smoother and improve the quality of your pictures. This tool removes the need for expensive equipment and a big photography team, so it's a budget-friendly option for businesses of any size.
By using AI, you can automate different parts of the photography process, like removing backgrounds, generating scene per text prompts, retouching images, and fixing colors. The tool analyzes and enhances your product pictures smartly, ensuring they look professional and appealing. It saves you time and effort so that you can focus on other important tasks for your clothing brand.
AI tools like Wondershare VirtuLook have transformed product photography by making it easier and faster. With just three clicks, you can generate impressive lifestyle pictures that effectively showcase your products, leading to increased sales and conversions.
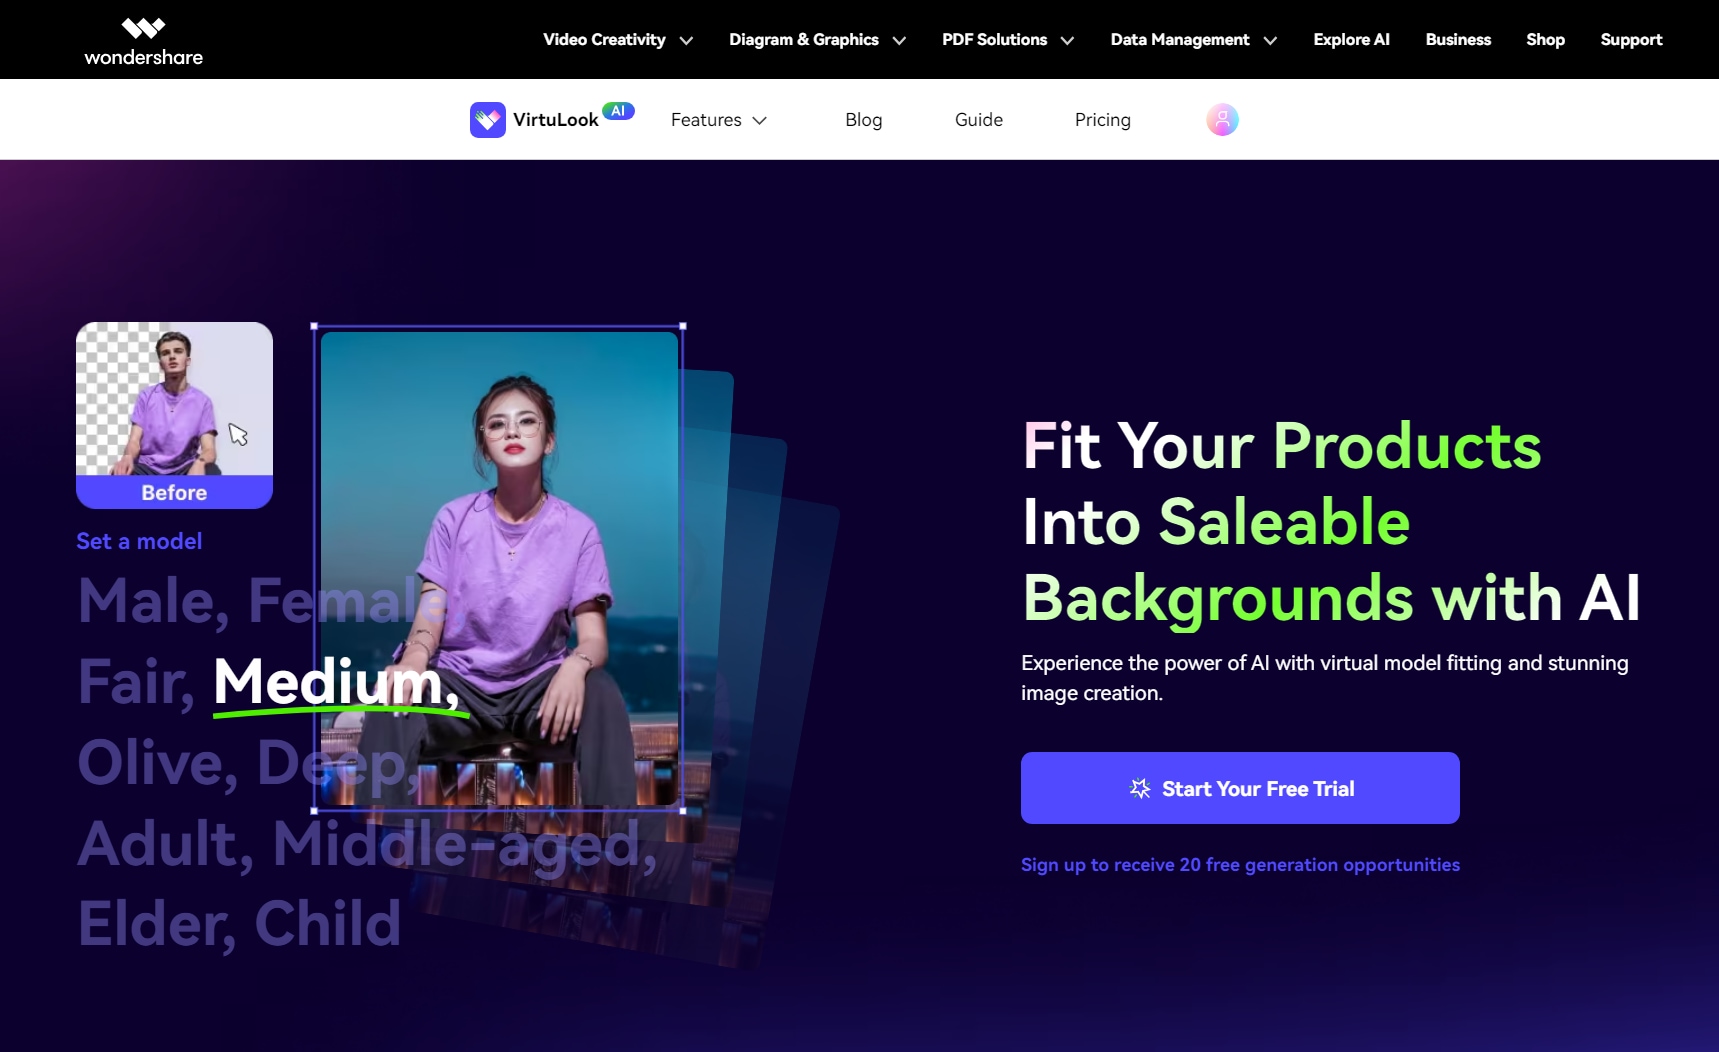
Wondershare VirtuLook is designed to be user-friendly. Its smart AI technology analyzes your uploaded images and creates realistic product photos in desired settings. The results are comparable to those taken by a professional photographer.
The platform is accessible to everyone, allowing you to become a photographer and create captivating product images in three simple steps:
Step 1. Open the Wondershare VirtuLook website on your browser. Click “Get Started”.
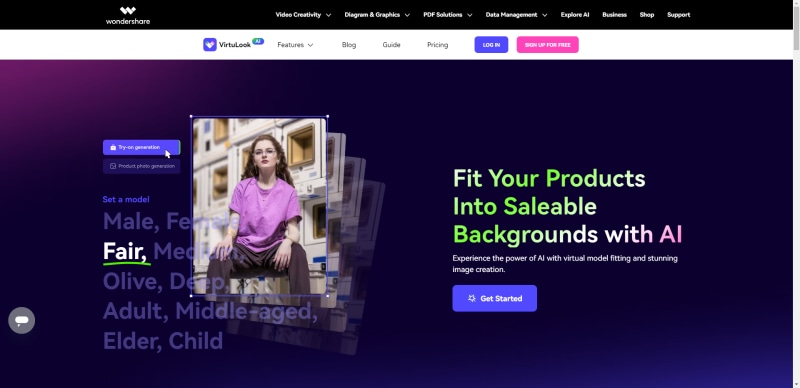
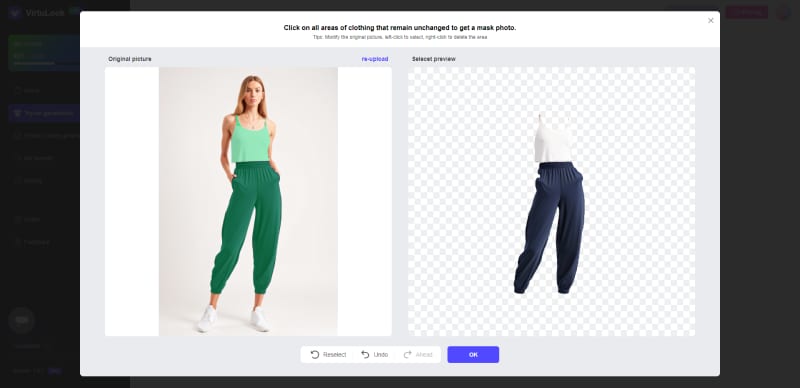
Step 2. Upload your original image and left click on the area of the cloth or product you wish to keep. (Please note that it is recommended to use the try-on generation function for mannequin images and the product photo generation function for product images). For optimal output images, it is advisable to review the basic requirements for the original photos first.
Step 3. Change your background by Using Template/Custom Editing.
Change the style and background by selecting the different template. This option will change the areas of the picture that you don't want to keep to your preferred background.
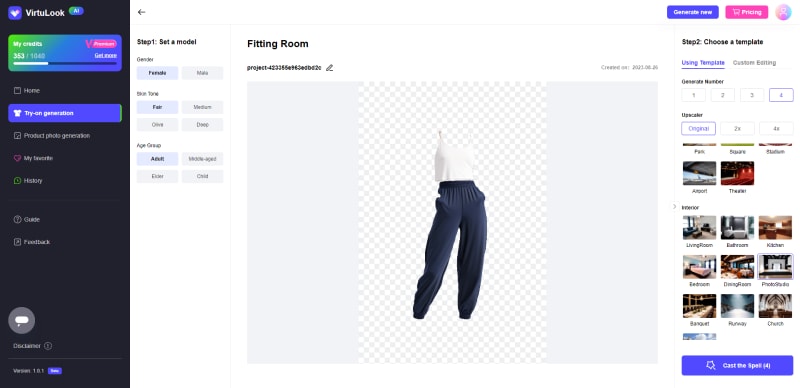
Alternatively, if the template does not currently have the scene you need, you can try using the Custom Editing feature to generate your own customized photo.

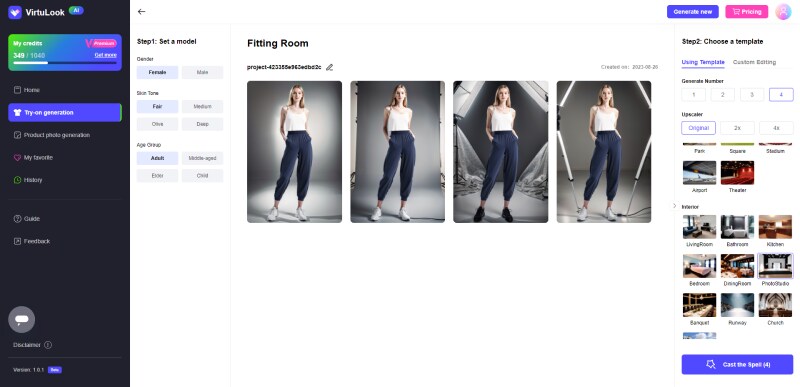
Step 4. Lastly, you can download or bookmark the photos you like. We also appreciate timely feedback from you regarding any issues with image quality or any other concerns you may have.
Conclusion
By following the steps in this guide, you can plan a successful photo shoot that captures your brand's essence and boosts sales. Embrace AI in your photography workflow and take your clothing brand to the next level.