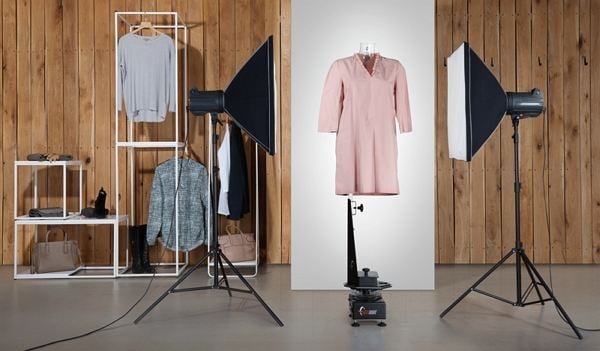
When selling things online, the essence of good clothing product photography is important in convincing people to buy.
You might be worried about competing with big clothing companies and their fancy photography. But here's the good news: you don't need to spend much on professional equipment. You can do creative clothing photography with a small budget and a willingness to learn.
This article shows you the best way to photograph clothing. Let’s get started.
In this article
What Is Clothing Photography?
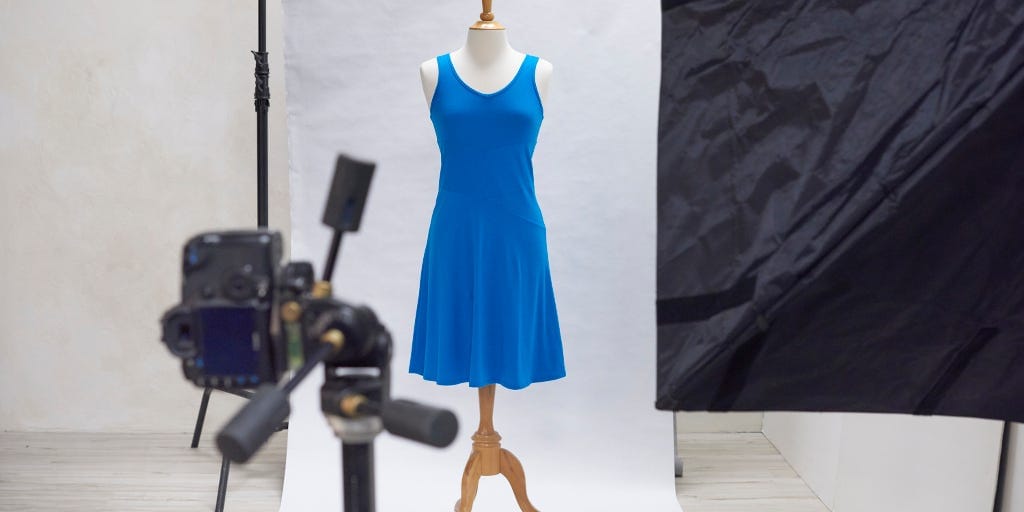
Clothing photography shows off clothes and fashion items for online stores, catalogs, ads, and marketing campaigns. Good photos accurately representing the clothes can lead to more sales in online stores.
E-commerce clothing photography helps present products in a way that shows all the details clearly and attractively. Good clothing photography builds trust and shows the identity of the brand. Detailed images make customers confident that the product is high quality and will meet their expectations. The photos also convey the brand's unique style and identity.
Essential Equipment for Clothing Photography
It's important to have the right equipment to take great pictures of clothes. Here are some important tools and accessories you'll need:
- Camera: Look for cameras that take clear pictures, even in low light. Consider features like manual controls, lenses you can change, and a big sensor. Popular camera options include DSLRs and mirrorless cameras.
- Lenses: For clothing photography, lenses with focal lengths between 35mm and 85mm work well. These lenses make the pictures sharp and versatile for different situations.
- Lighting Equipment and Setups: Get lighting equipment like studio lights, softboxes, and stands. Diffusers and reflectors help control the brightness and create a nice look on the clothes. You can also use a backdrop system or seamless paper for a clean background.
- Other Helpful Tools and Accessories: Tripods keep the camera steady, especially for long exposures. A remote shutter release lets you take pictures without touching the camera. A color calibration card helps ensure your photos' colors are accurate. And if the clothes are wrinkled, a garment steamer or iron can help make them look smooth before you take pictures.
Steps to Photograph Clothing
Step 1. Get the Clothes Ready
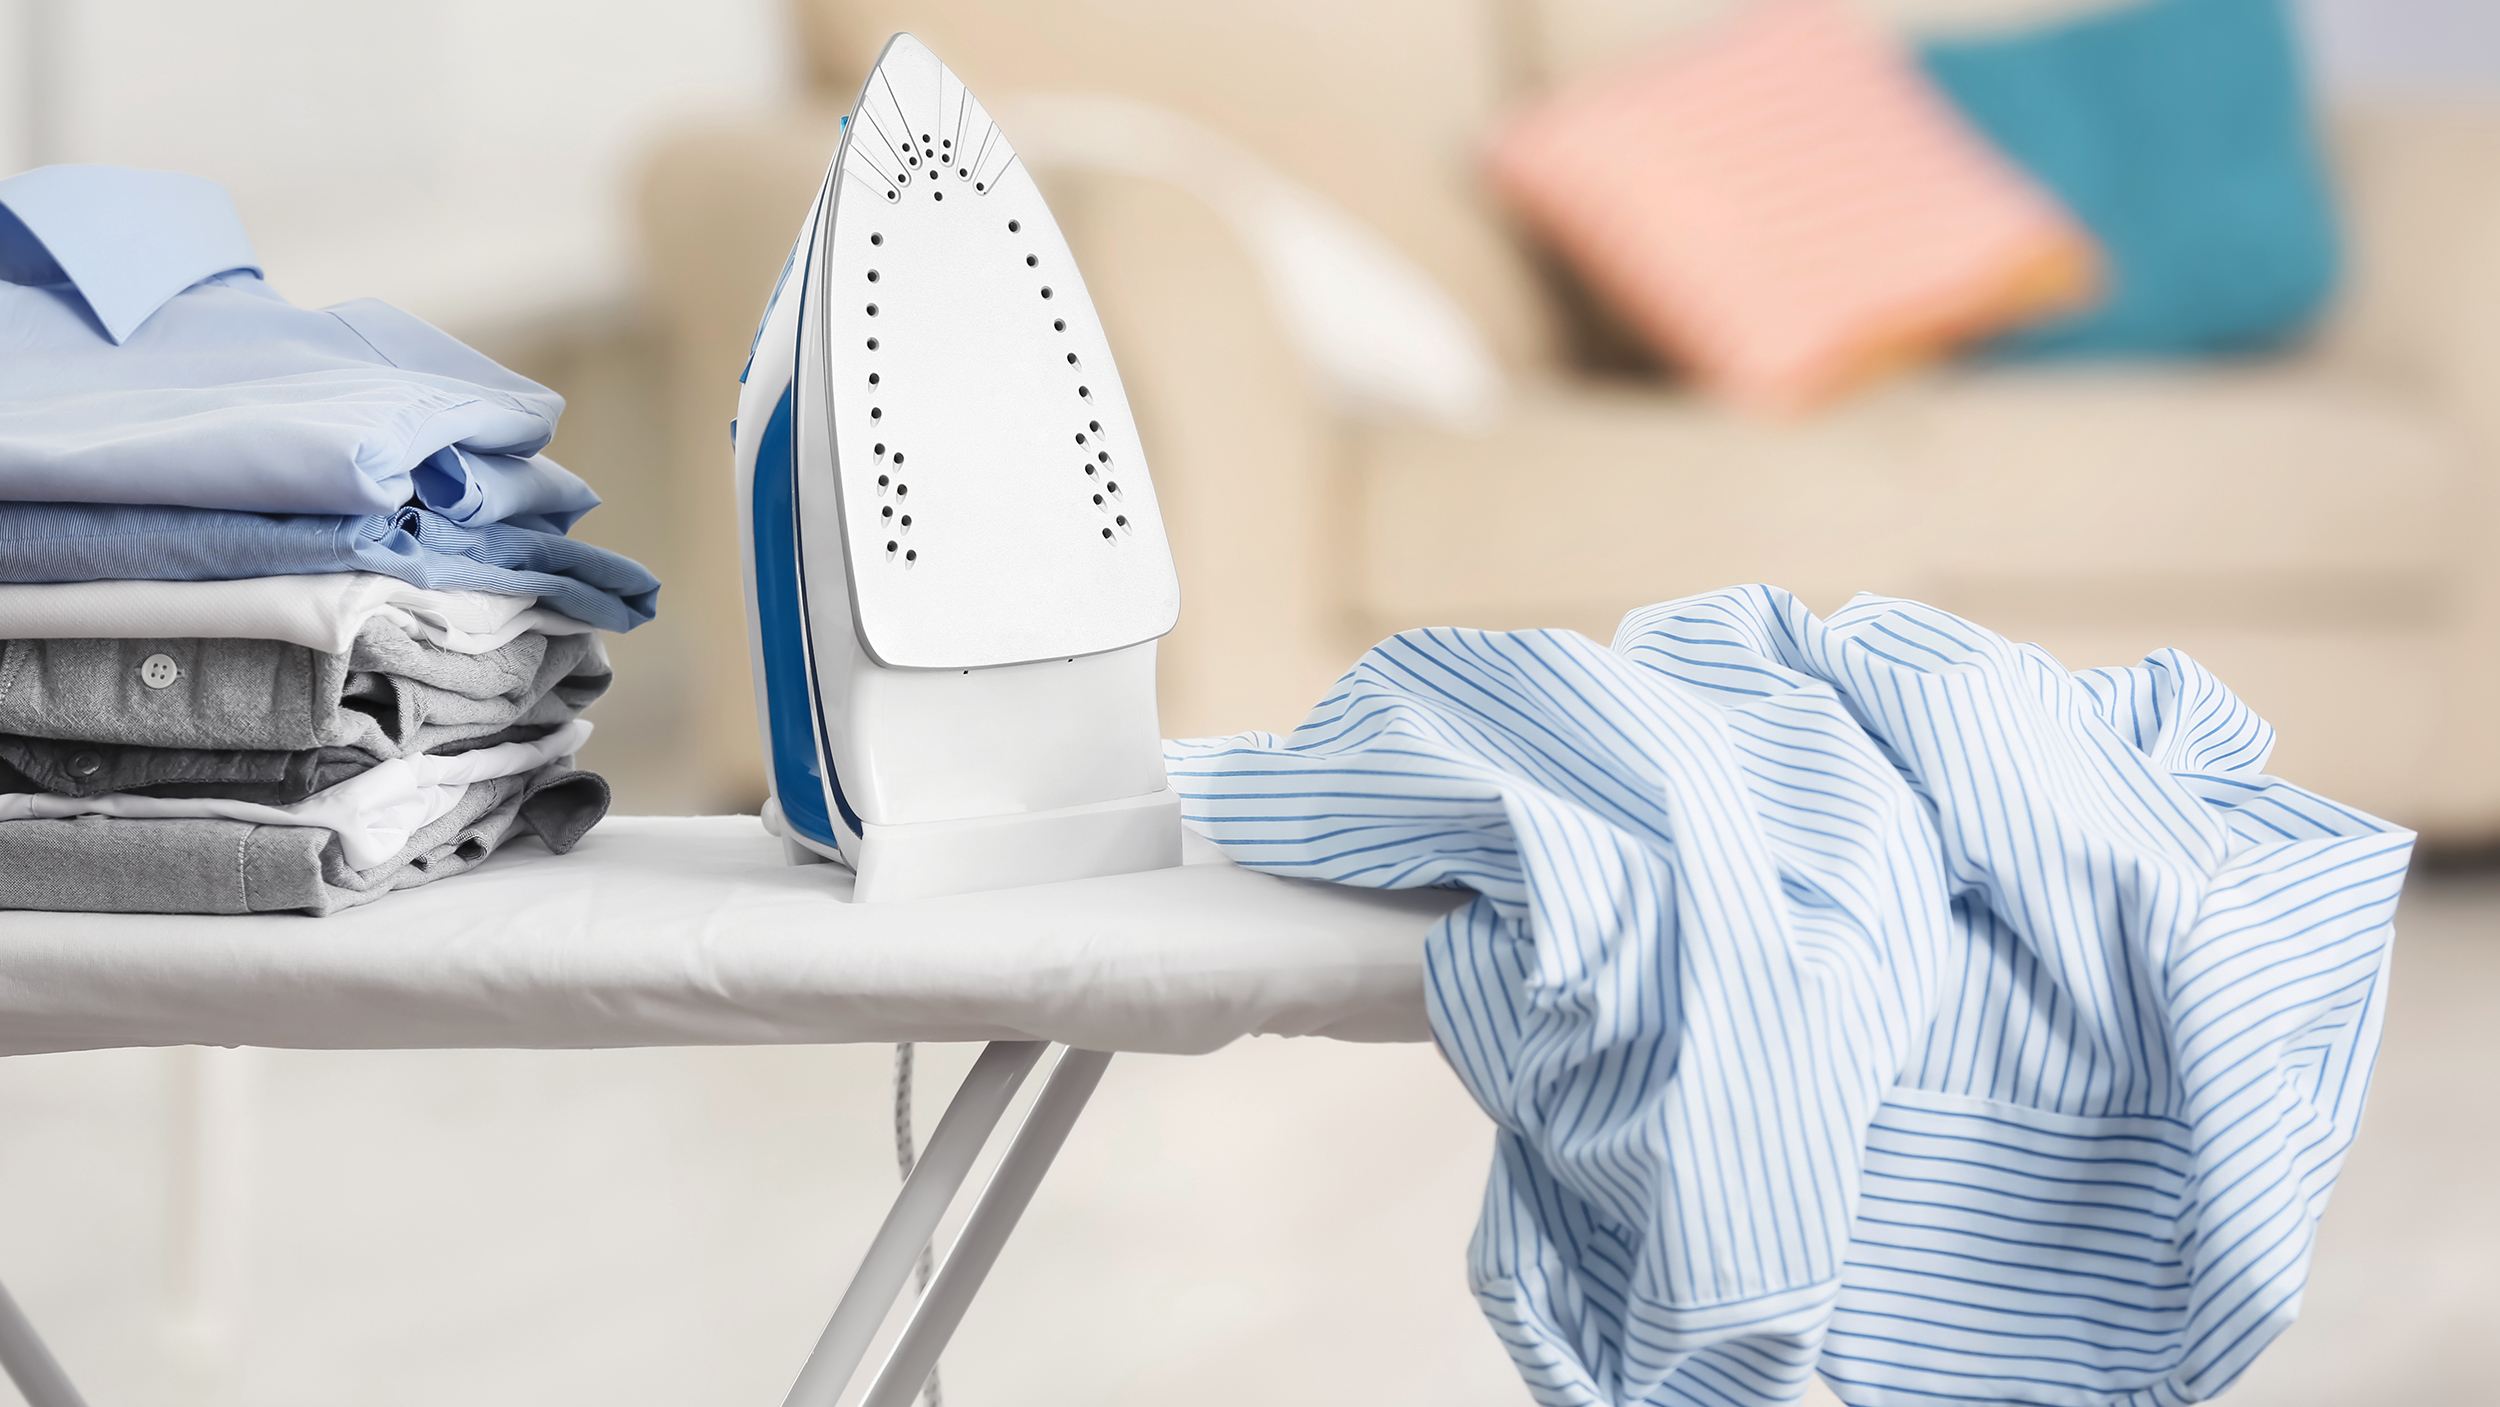
Capture your clothes in the best condition possible. Take a close look at your product from every angle. Are there any tags, stickers, or identifying materials needing removal? Take them off. Are there wrinkles or creases? Iron or steam the clothes. Repair any damages and remove distractions.
By preparing your clothes properly, you'll have a better starting point for your photos, resulting in higher-quality images that showcase your products in the best way possible.
Step 2. Set Up the Photo Studio/Location
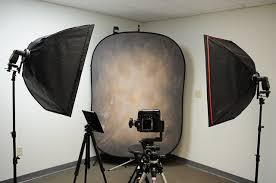
You can easily transform any room into a photography studio with just a few items. You'll need a camera, tripod, white wall, C-stand, duct tape, and natural light to start. If you have a bit more budget and want more control over your shooting conditions, consider investing in additional equipment.
Also, make sure to clear away any clutter in your space. Having a clean and organized area will help you do your best work.
Step 3. Position the Lighting
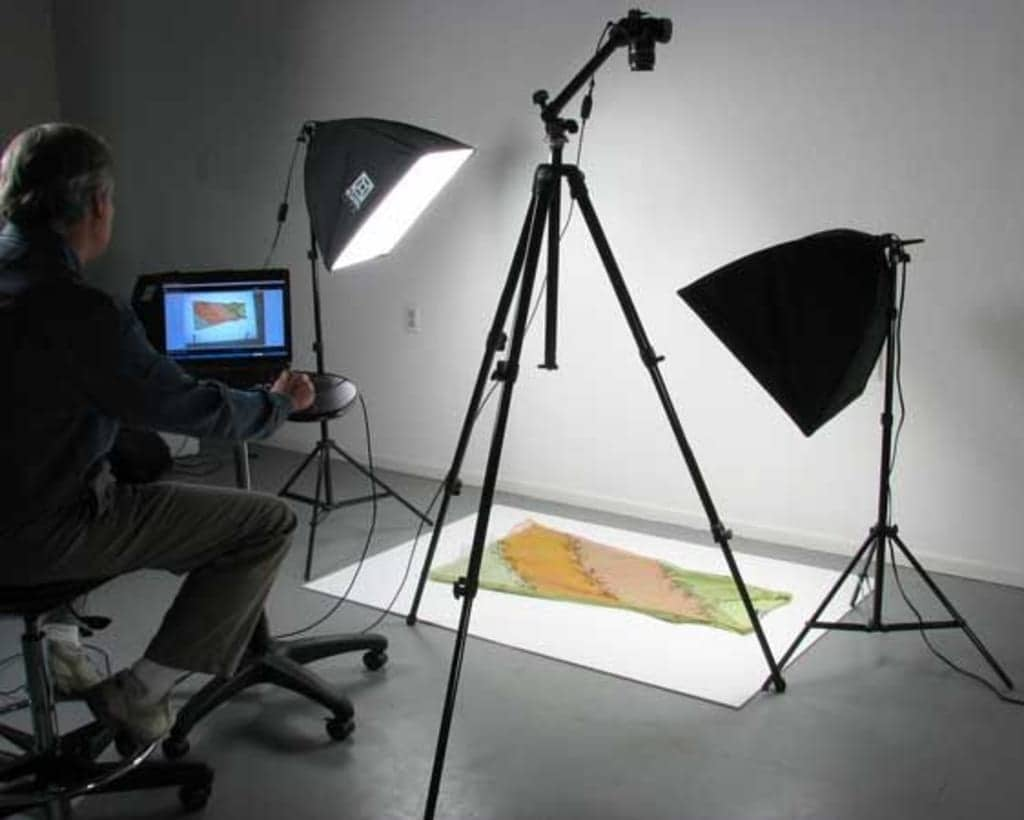
If you're using natural light, place your product near a window to get even and indirect light. If you're using a moonlight setup, here's a diagram showing an effective bird's-eye view of the lighting setup.
Position one light source at a 45-degree angle to the product. This ensures soft and evenly distributed lighting on the product. Keep your camera directly in front of the subject. If you notice any shadows caused by the product being too close to the background, move the subject further away for a clean, white background. Set the power of your light source to about half.
To properly expose your image, use your camera's light meter. Look through the viewfinder and adjust settings until the meter reaches 0.
It's not as straightforward when using a strobe because the camera doesn't have any lighting to read until the flash fires.
Learn more: best lighting for clothing photography
Step 4. Styling
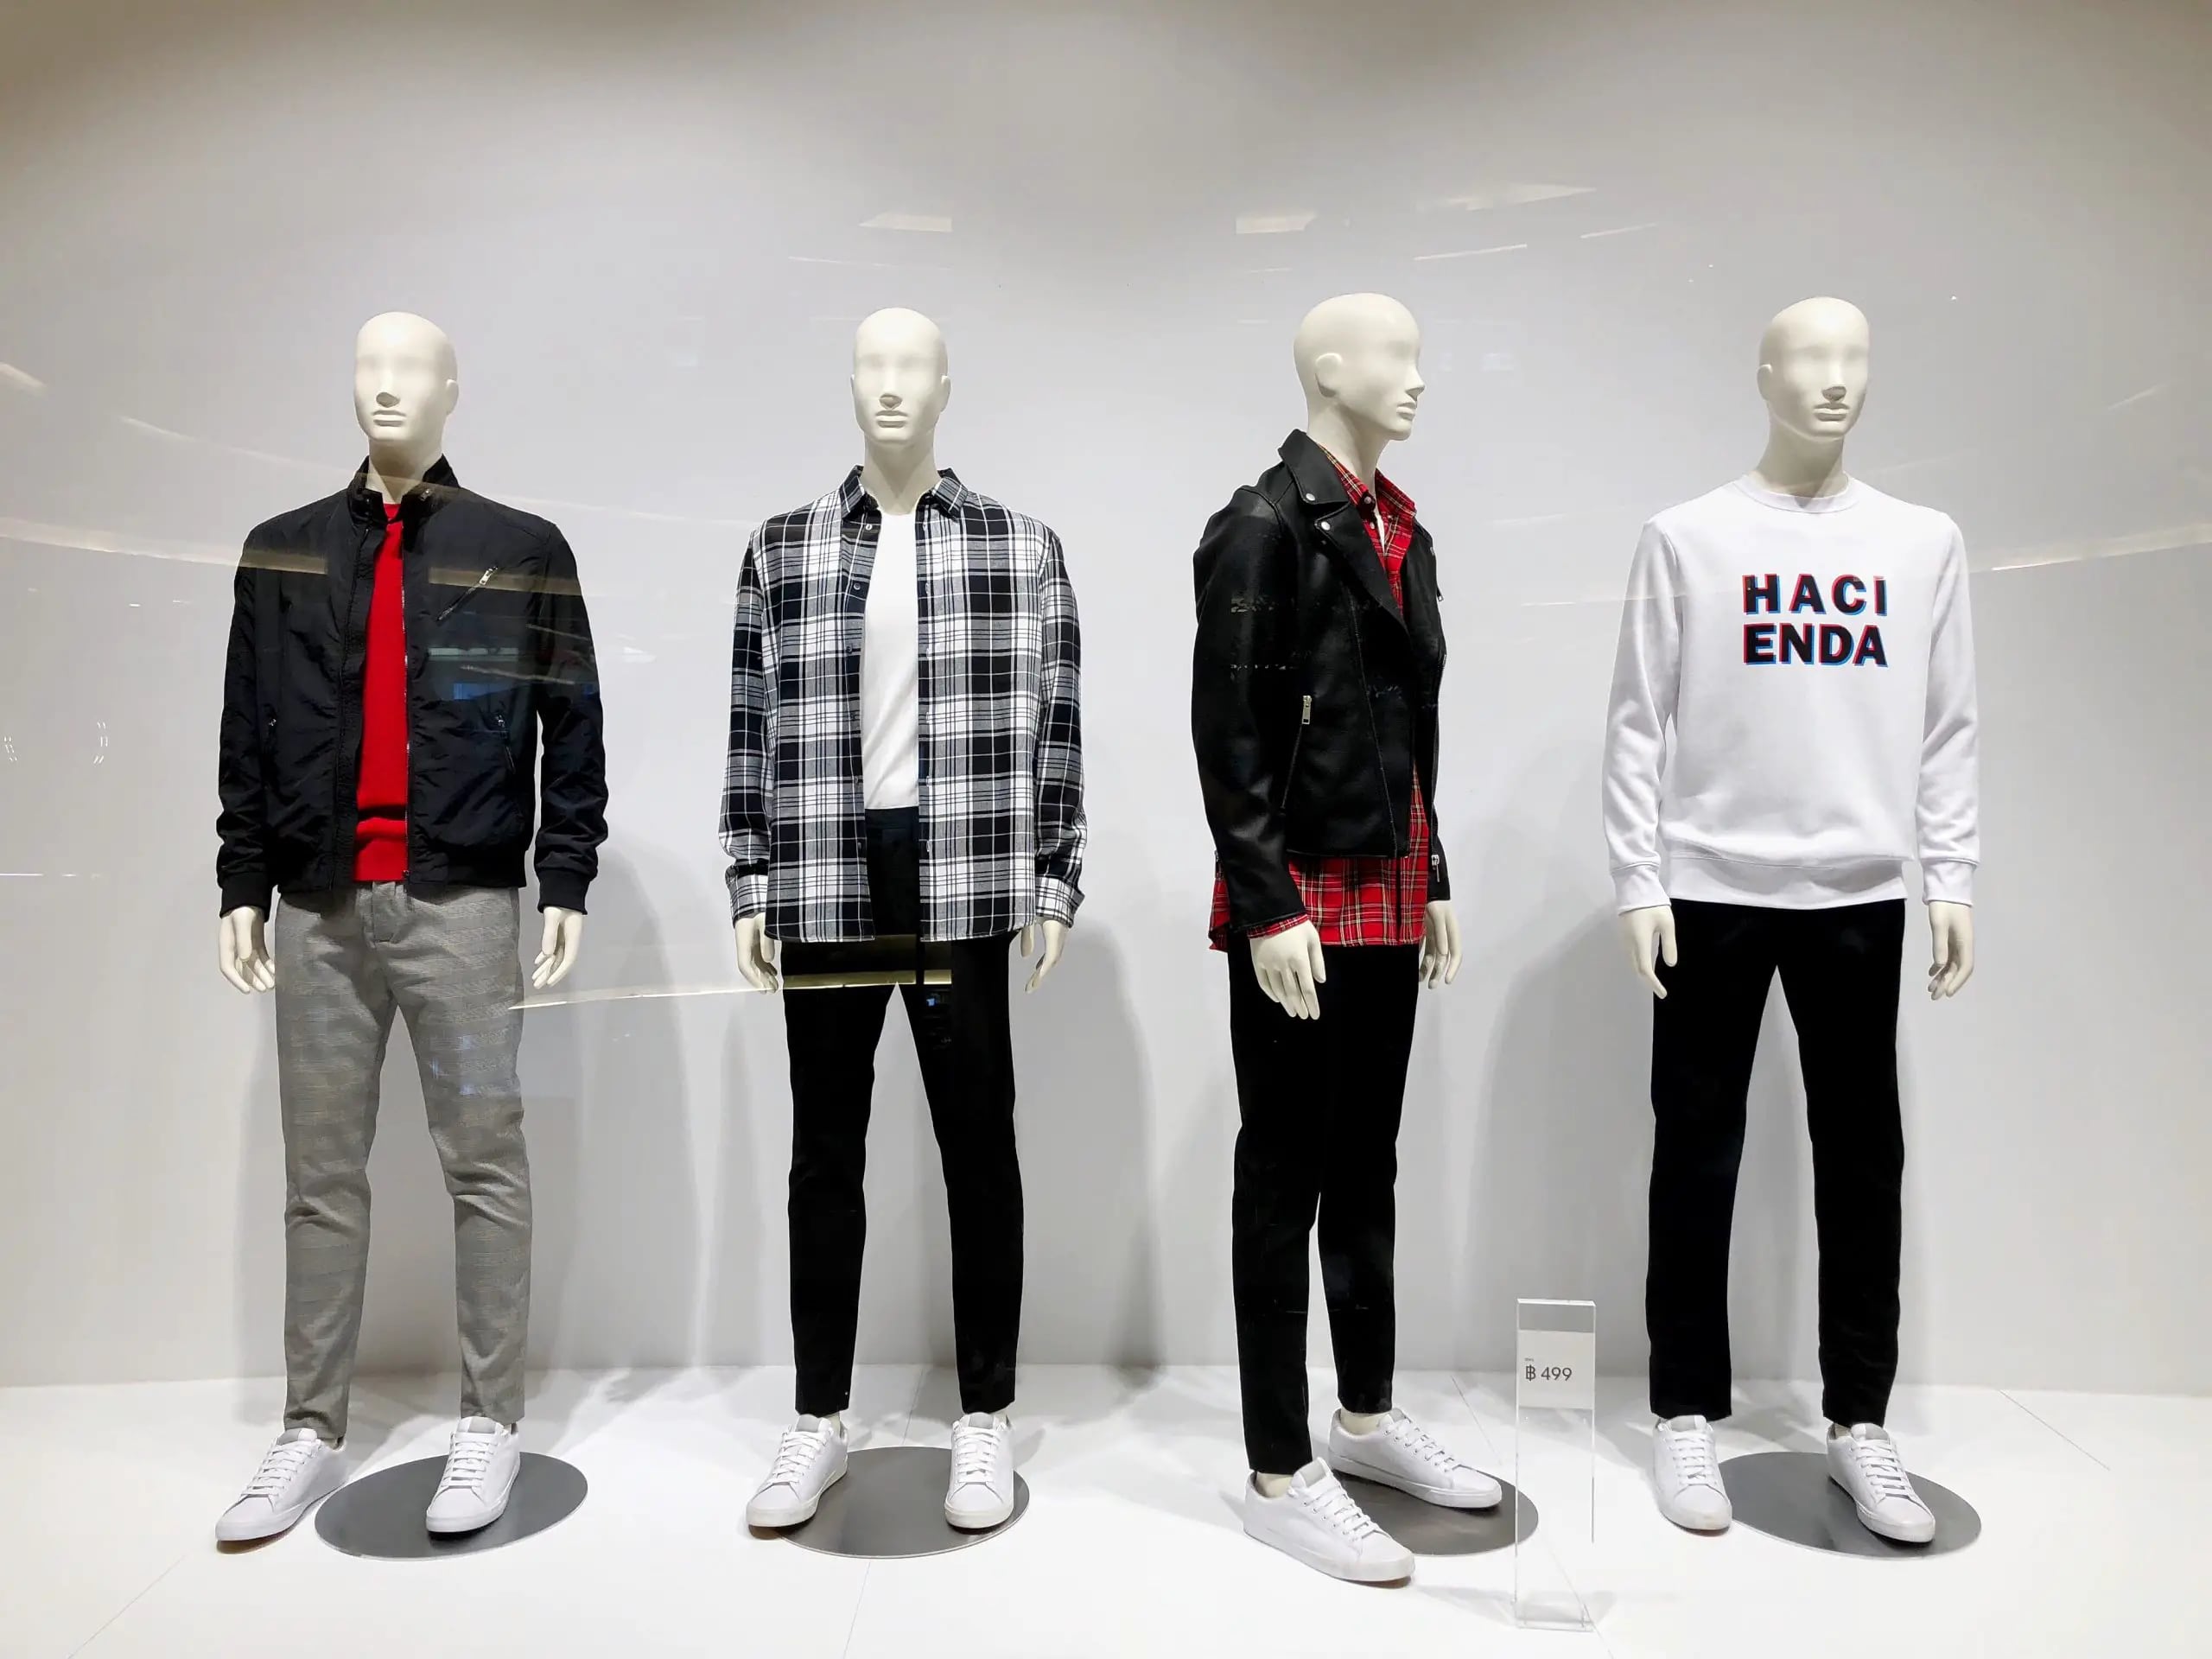
Consider hiring models if you want to help your customers relate to it and add a professional touch. However, use mannequins if you want an affordable, consistent, and easy-to-work-with option.
You can also do the ghost mannequin technique during post-production. By taking additional shots of each product, you can remove the mannequin from the images and create a 3D representation that shows the shape and fit.
Also, work with flat lay clothing photography. It is a great alternative to mannequins or models and can help you create attractive product photos that sell well. This technique is often used for social media photos but can also be used for your website content.
Alternatively, you can use hanging apparel to display products at eye level. It is budget-friendly and quicker compared to other techniques mentioned earlier. With hanging apparel, you hang the clothing on a hook against a wall or a white background and then take the photo.
Step 5. Set Up the Camera
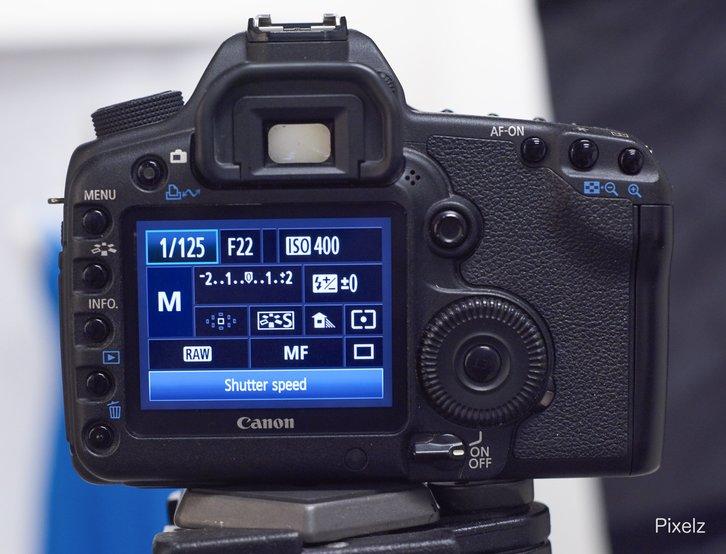
To ensure professional-looking images, setting your camera correctly before taking photos of your products is important. Here are some key settings to consider:
- ISO
Keep your ISO at a maximum of 600-640. Higher ISO values can result in distracting noise or grain in your photos, giving them a film-like appearance. A tripod lets you maintain a lower ISO (around 100 or 200), resulting in clearer and sharper photos.
- Aperture
Aperture, indicated by the f-number (e.g., f-16, f-2.8) in your camera settings, controls the focus of your photos. Generally, a higher aperture number will ensure that all aspects of your products are in focus. In simpler terms, set your aperture higher than f-11 to capture the full details of your products.
- White Balance
Ever seen a photo that appeared to have a blue or orange tint? That's usually due to an incorrect white balance. Different light sources have varying temperatures, which can create a color cast, making it challenging for your camera to capture true white. The white balance setting helps your camera interpret colors accurately.
Step 6. Take the Photo

Point your camera at your subject and gently press the shutter halfway down to let the camera focus on your subject. Once it's focused, go ahead and take the shot. Keep an eye on your images as you go, and adjust your camera settings if you need more or less light. The more you practice, the more natural it will become to make these adjustments.
Take as many photos as you can. Capture the front and back views, 45-degree angles, left and right sides, and any special details of your clothes. Experiment with close-up shots to showcase the unique features of your garments.
Include multiple photos for each item of clothing. If you have embroidery or decorative elements, show them off! Take close-ups that highlight what makes your product special. This will convey its value to potential buyers who are considering a purchase.
The more photos, the better. Having various options allows you to select the best images, and research has shown that having more product images on your website can increase sales. Customers can trust their impressions of the product when they see multiple photographs from different angles, reinforcing its appeal.
Step 7. Finish Touches in Post-Processing
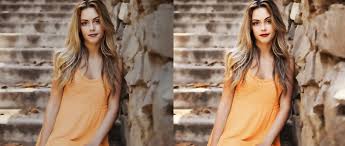
Post-production processing aims to make your images look professional while still performing well.
You can outsource this step to save time and costs, as digital files can be easily transferred. However, if you choose to do it yourself, focus on alignment, cropping, background removal, and color correction. These steps will help maintain a consistent and professional appearance for your images. It's a good idea to keep a record of your processes to establish a standard set of specifications for shooting and editing.
Use AI Product Photography Tools for Creative Clothing Photography [HOT]
Advancements in technology have brought about the use of AI tools in apparel product photography. While these tools can assist in the process, it's important to note that they may not always deliver the desired results.
Here are four AI product photo generators available in free and paid versions.
1. Wondershare VirtuLook
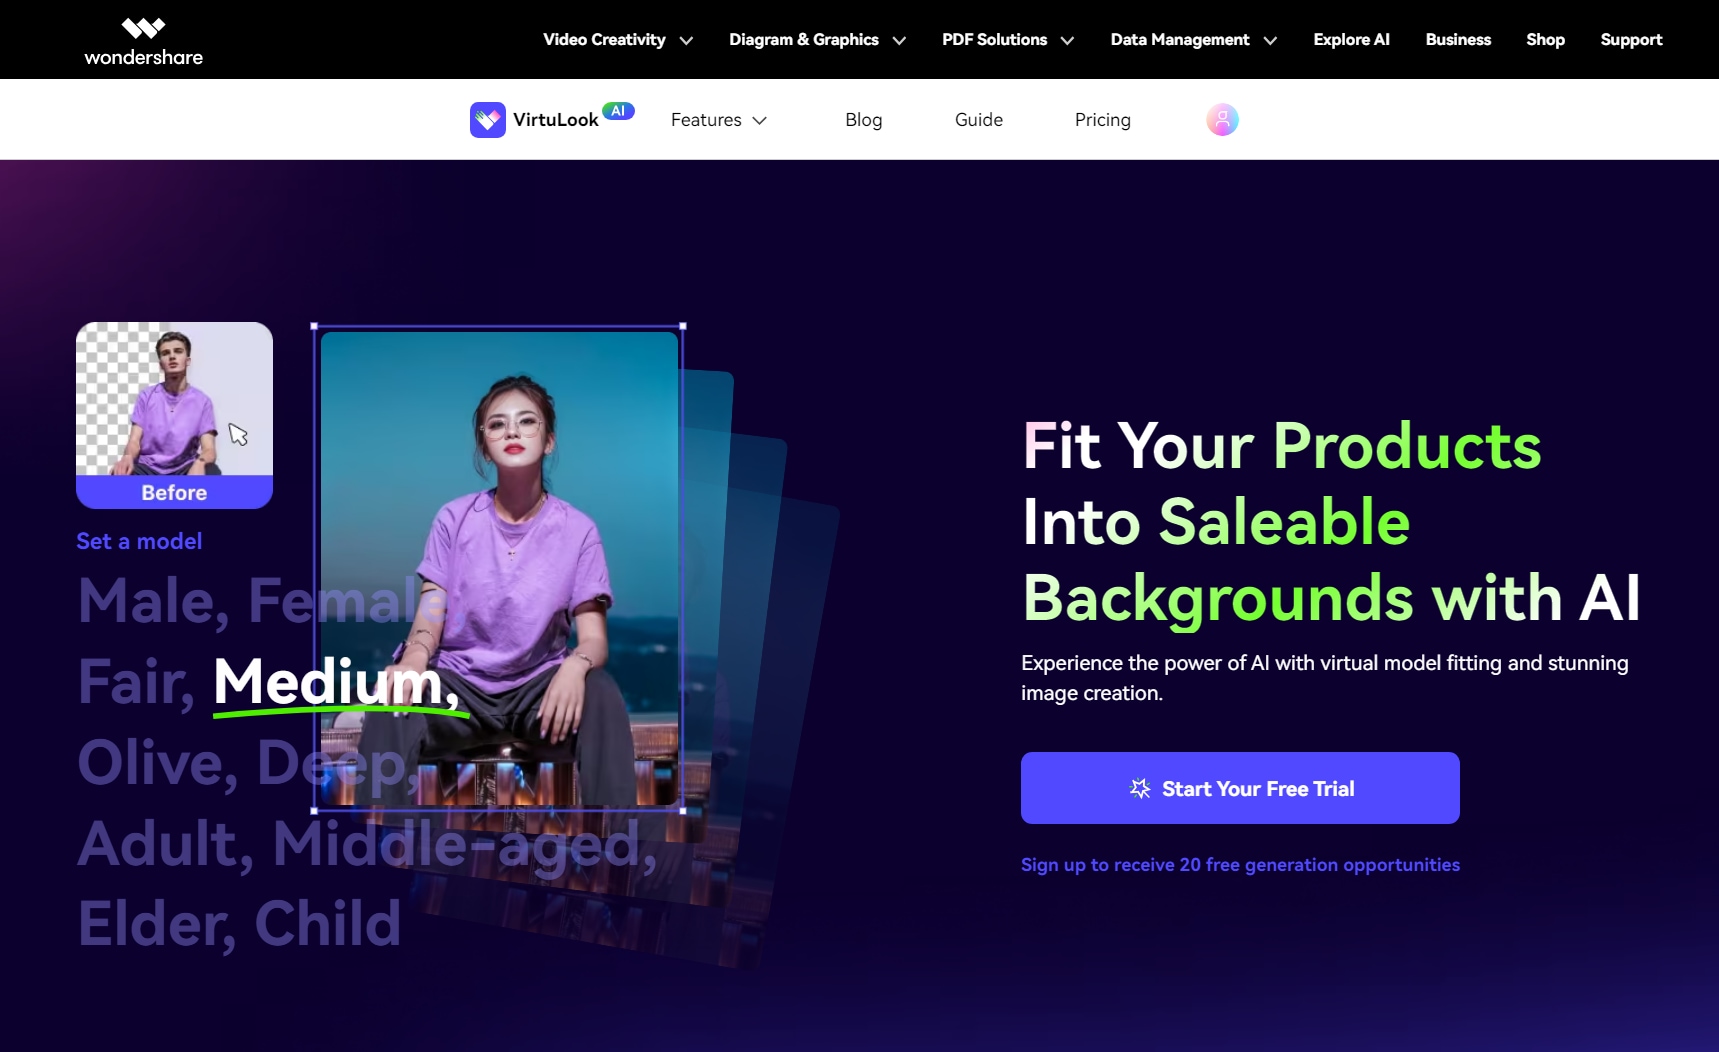
Wondershare VirtuLook is an amazing new tool that uses AI to create top-notch clothing photos quickly. With simple clicks, you can generate stunning lifestyle pictures that showcase your products, boosting sales and conversions.
Using Wondershare VirtuLook is super easy. Its smart AI technology analyzes the images and creates realistic photos of your product in the desired setting. And the outcome looks like a pro photographer took them.
This has a user-friendly platform that makes it accessible to everyone. With just 3 steps, you can become a photographer and create captivating images of your products:
- Step 1: Visit the Wondershare VirtuLook website and create an account by providing your email address and setting up a password. Alternatively, you can sign in using your Google, Facebook, Twitter, or Apple ID account.
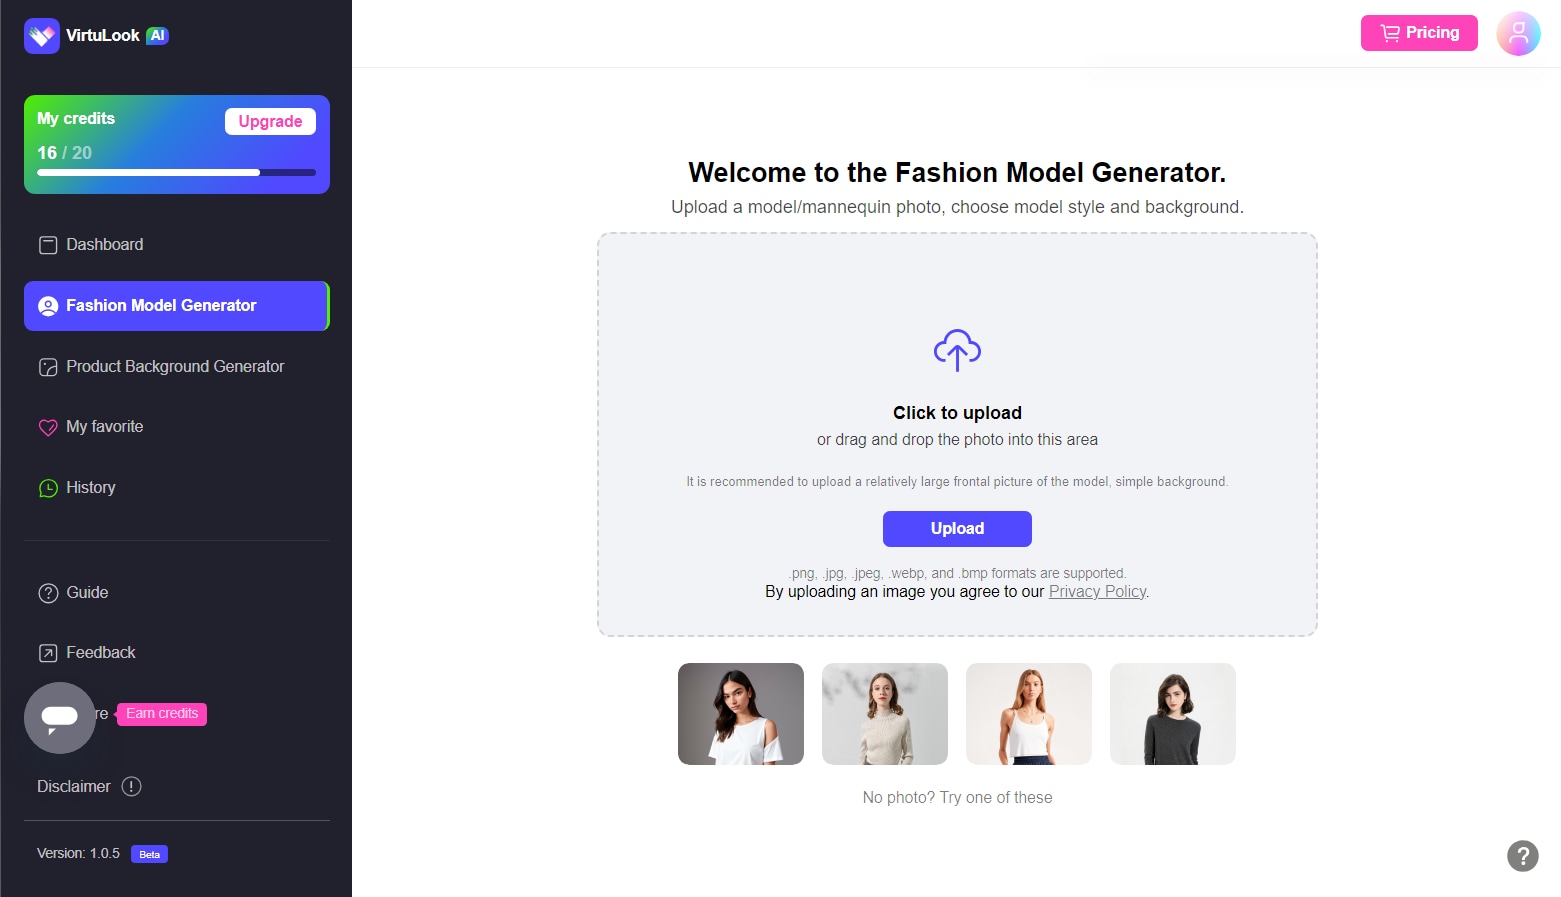
- Step 2: Once your account is set up, click Get Started. Select Try-on generation from the sidebar, then, click the Step1 button to add your clothing images onto the platform. Ensure that your images are clear, well-lit, and shot against a plain background for best results. Continue with Step2 to select the product part needs to remain unchanged. Then, click OK to continue.
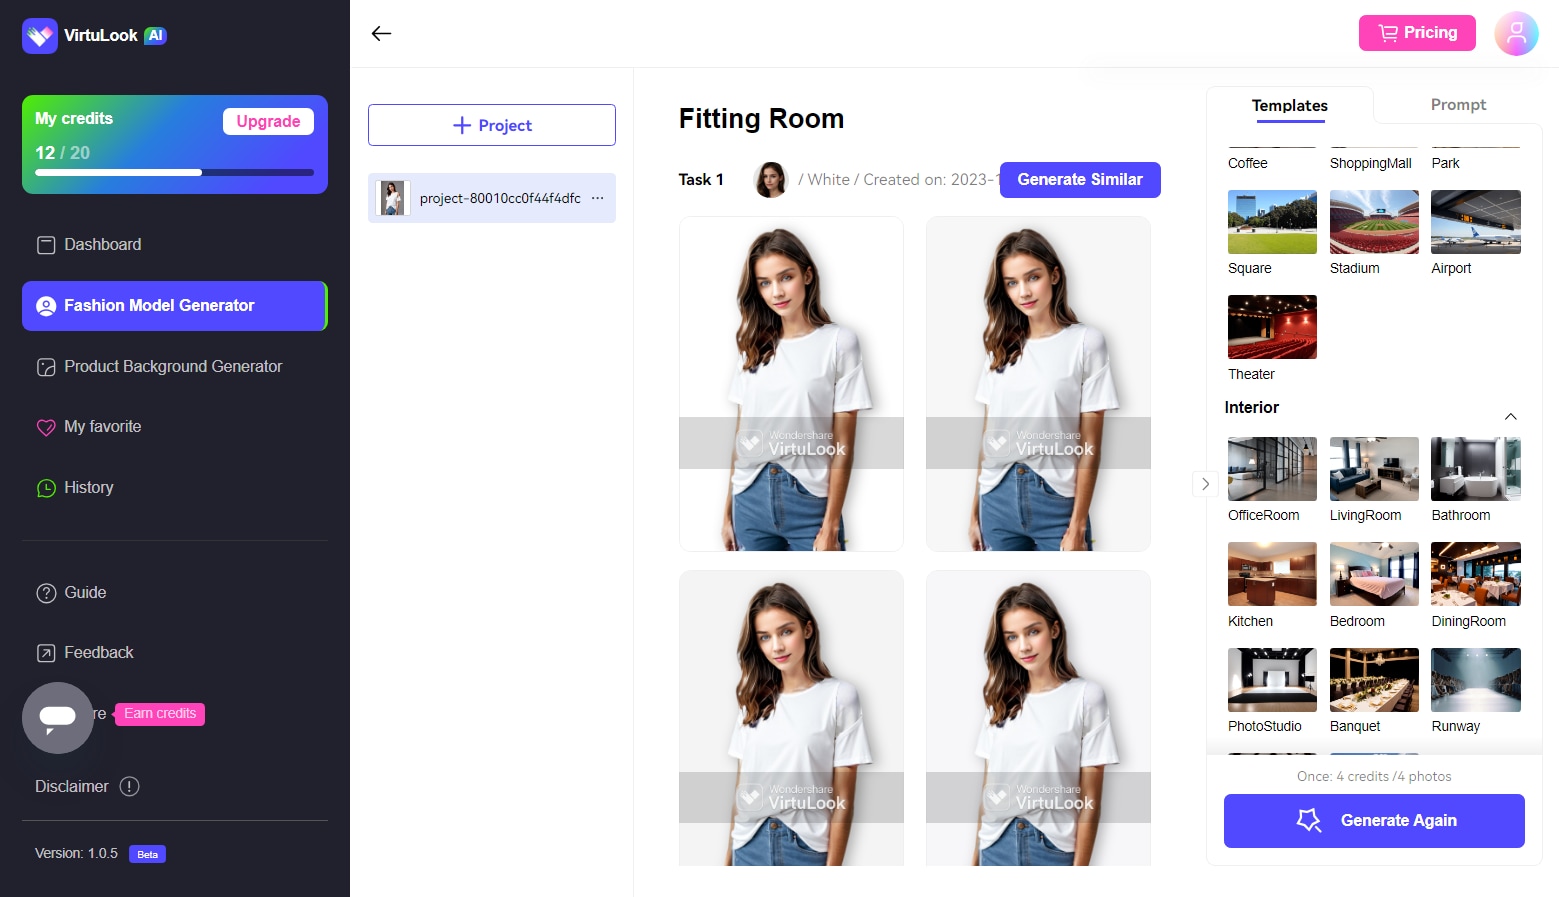
- Step 3: By adjusting the settings listed on the working panel, you can generate different ai try-on models and scene background accordingly. Or click Custome Editing and provide a description of your desired outcome for the images in the text prompt box. This helps the AI understand your creative vision and generate the best possible results. Once done, click Cast the Spell to generate the image.
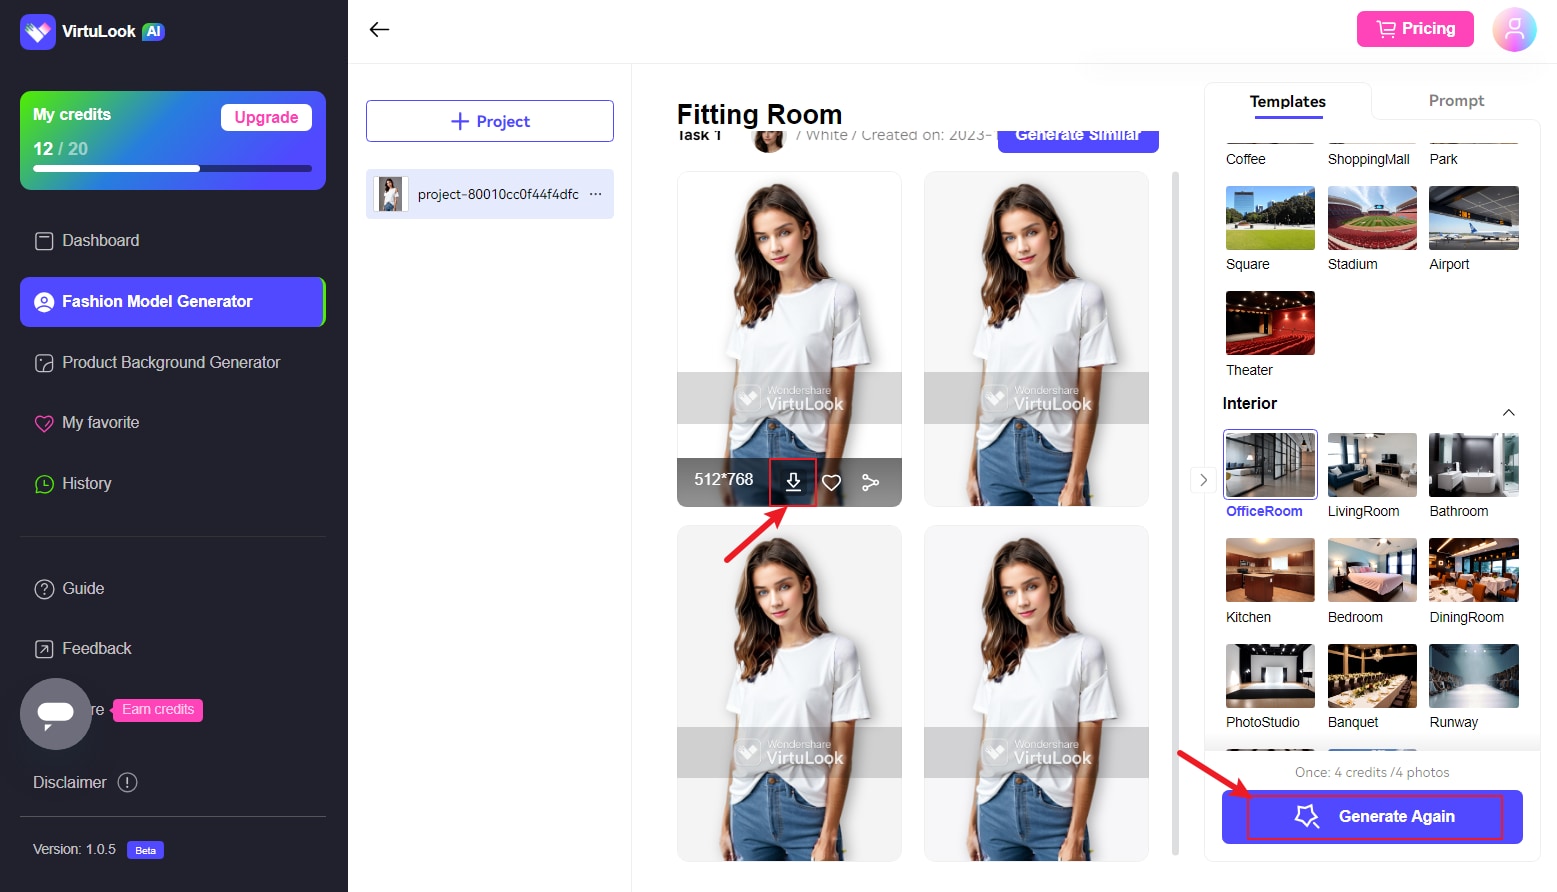
- Step 4: Receive the generated images within seconds. Move the mouse over the generated imgae, then you will find the option to download and collect the file to favorite.
And the best part? Wondershare VirtuLook is currently in beta, you can book a demo to use it completely free.
2. spyne.ai
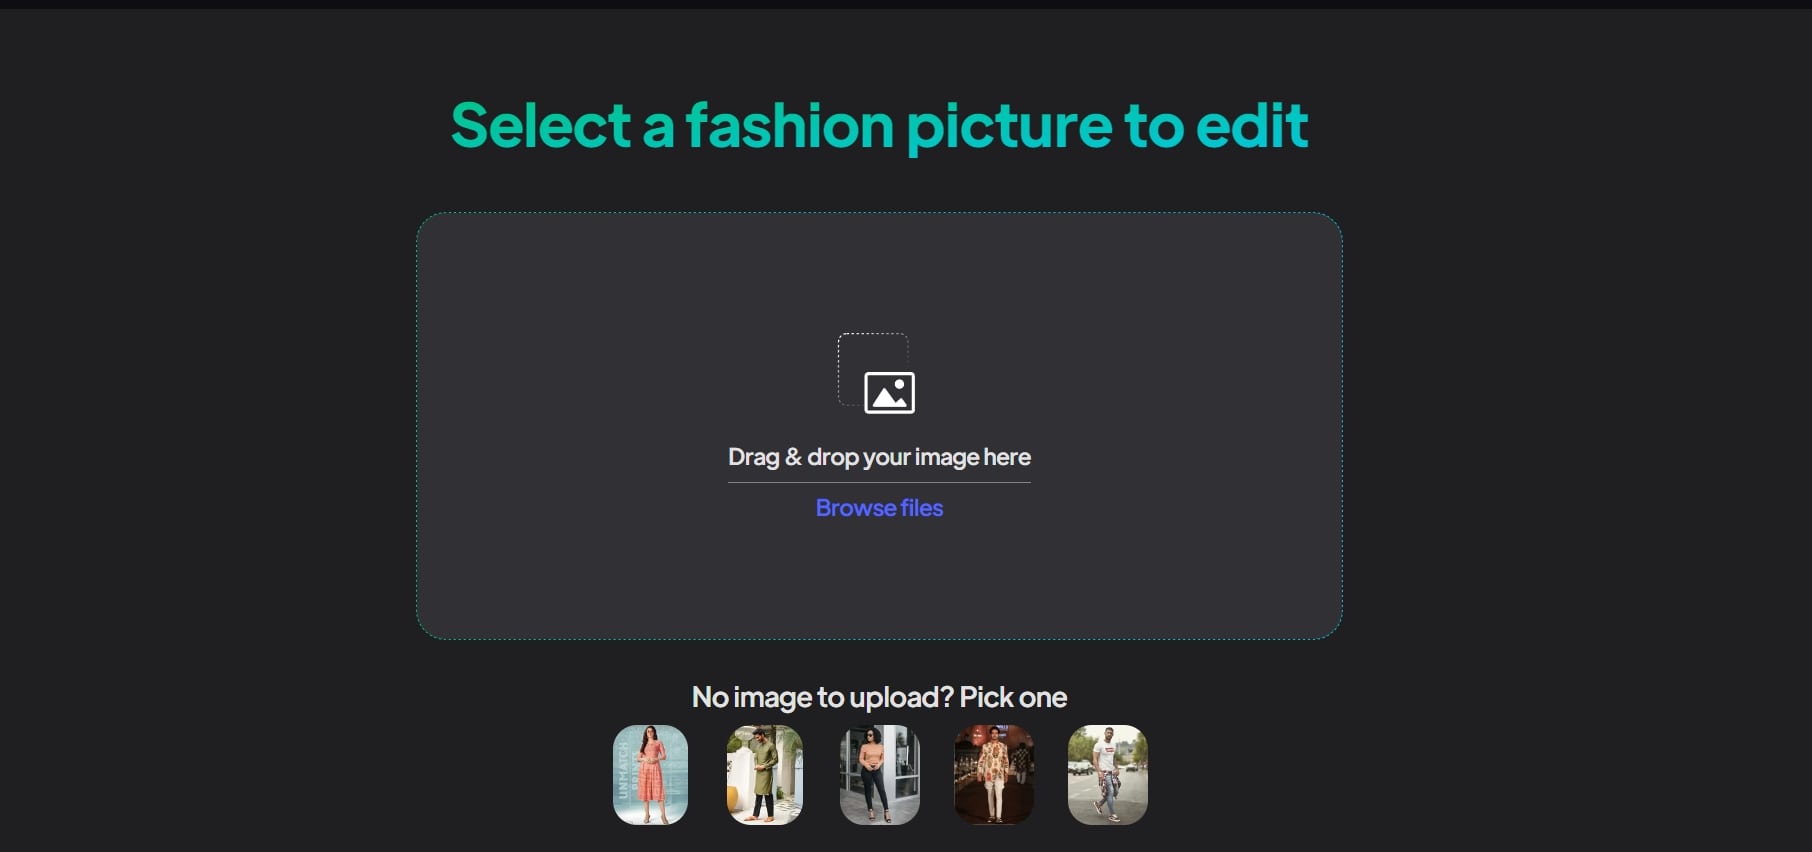
Spyne presents a great alternative for acquiring the necessary images for your ecommerce website or listings. With its powerful AI, trained on over 25 million images, Spyne offers a range of essential features for ecommerce websites.
It can verify and moderate the images of clothing, ensuring they meet quality standards. Spyne enhances the quality of images by adjusting and enhancing the colors of the images. Moreover, spyne's automation reduces the time required to bring products to the market, enabling quicker updates and releases. Spyne's AI can replace the background of images, allowing for a consistent and professional look across all product photos.
Its pricing plan starts at $6.
3. Zeg.AI
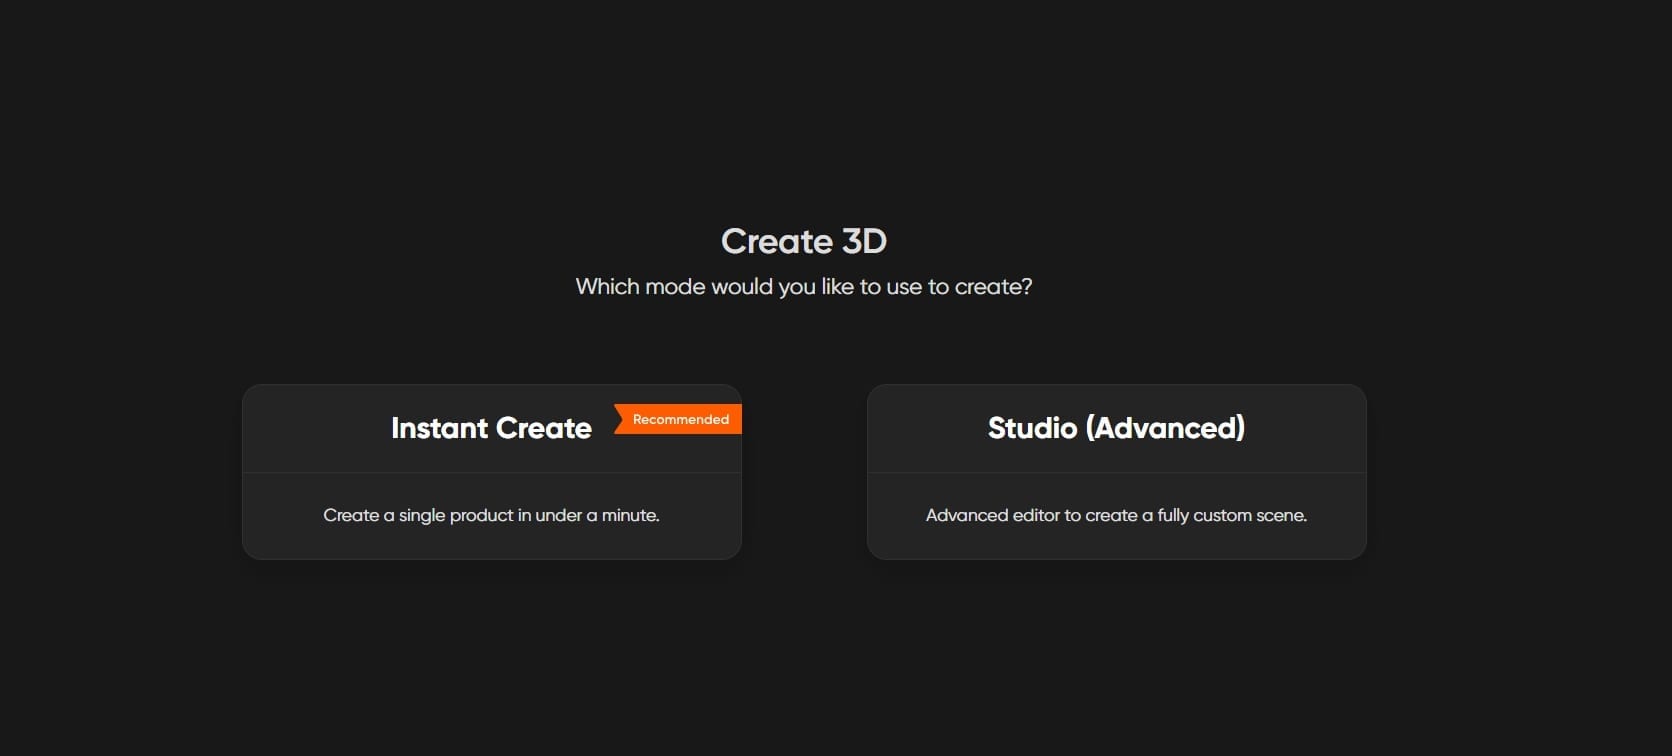
Zeg.ai is transforming the way businesses capture product photos and videos. With this technology, you can obtain breathtaking images and videos of your product without needing a physical studio. This saves you valuable time and reduces costs associated with renting studios, travel, and shipping expenses.
Zeg.ai utilizes advanced artificial intelligence (AI) technology to create high-quality visuals that present your products in the best possible way. You can simply upload your product photos or videos, and the system employs sophisticated algorithms to optimize lighting, angles, and backgrounds. The result is professional-looking photos or videos that can be used across various marketing channels, including websites and social media.
Currently, the first photo shoot is free. After that, there is an annual subscription fee of $200.
4. Pixelcut.AI
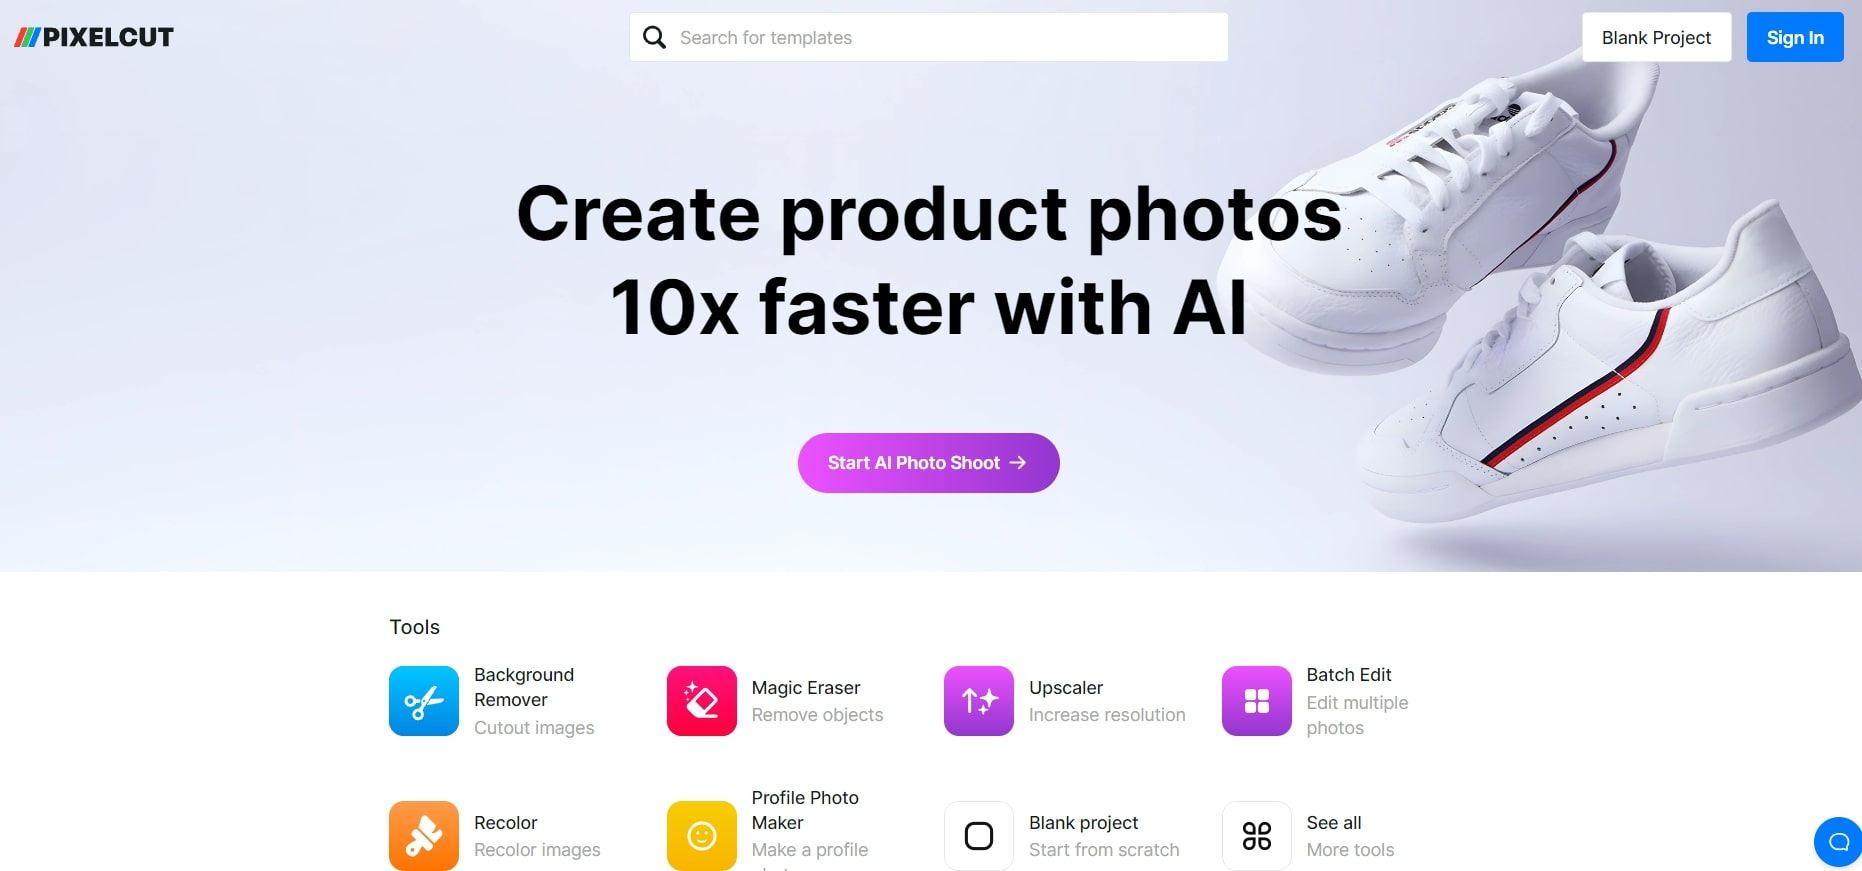
Pixelcut.ai is an online platform that offers an AI-powered tool to help businesses create stunning product photos for their online stores. The platform automatically removes backgrounds, enhances colors, and sharpens images.
You don't need any technical skills or software installation to get started. Simply provide a high-quality image of your product, and the AI tool will process the rest. You can easily edit your photos, add text overlays or logos, and download high-quality images ready for publishing on your website or social media.
The great thing about Pixelcut.ai is that it's completely free to use.
Future Trends in AI-powered Clothing Photography
AI-powered clothing photography is an emerging trend that is likely to shape the future of fashion and e-commerce industries. As AI technology continues to advance, we can expect several significant trends in AI-powered clothing photography:
1. Virtual Photoshoots:
AI tools will enable brands to create realistic, high-quality images of clothing items without the need for physical photoshoots. Virtual garments can be placed on virtual models or avatars, allowing for endless possibilities in terms of lighting, angles, and backgrounds.
2. Personalized Fashion Recommendations
With AI clothing photography, companies can analyze a user's personal style and preferences, and then generate personalized clothing images and recommendations. This will enhance the online shopping experience and help customers find the perfect outfit more easily.
3. Augmented Reality (AR) Integration
AI-driven clothing photography will be integrated with AR technology, allowing customers to virtually try on clothes before making a purchase. This will not only save time and reduce returns, but also provide a more engaging and interactive shopping experience.
4. Customized Clothing Designs
AI clothing photography will enable users to easily customize and visualize clothing designs in real-time. This will allow for a more personalized and unique shopping experience, giving users the ability to create their own fashion statement.
5. Automation and Cost Reduction
AI-driven clothing photography will reduce the need for expensive photoshoots and professional photographers. This will lead to significant cost savings for brands and retailers and enable smaller businesses to compete more effectively in the market.
6. Sustainable Fashion Practices
Virtual clothing photography reduces the need for producing physical samples, cutting down on waste and promoting sustainable fashion practices. This will appeal to environmentally conscious consumers and contribute to a greener fashion industry.
7. Improved Image Quality and Realism
As AI algorithms continue to evolve, the quality and realism of AI-generated clothing images will improve. This will result in more visually appealing product listings and a better overall shopping experience for customers.
8. Faster Production Times
AI-powered clothing photography will streamline the production process, allowing for faster turnaround times and a more efficient supply chain. This will enable brands to respond more quickly to changing trends and customer preferences.
In conclusion, AI-powered clothing photography is set to revolutionize the fashion and e-commerce industries by offering a more personalized, efficient, and sustainable approach to showcasing clothing products. As the technology continues to advance, we can expect to see more widespread adoption and innovative applications within the industry.
