


Important Notice
Dear Creators,
Thank you for your continued support and love for Virtulook!
After careful consideration, Virtulook decided to officially stop the operation of the VirtuLook platform at 00:00 (UTC) on January 14, 2025. due to business strategy adjustments. At that time, users will not be able to access or log in to the Wondershare VirtuLook platform.
If you are currently using Wondershare VirtuLook and want to find a marketing creation empowerment tool, we recommend that you try virbo.wondershare.com, which provides digital creative functions for e-commerce, social media and other groups. With virbo.wondershare.com, you can continue to improve the quality of your creations and create greater value for your customers.
Notes:
1. Data: After Virtulook stops operating, all data and information related to Virtulook in the account will be completely cleared. It is recommended that you back up all important data in time before the service is terminated;
2. Refund policy: For paying users who are still in the subscription period after the operation is stopped, we will provide corresponding refunds based on your usage. Please consult customer service for the specific refund process;
3. Customer support: Our customer service team will continue to provide you with support until the service is completely terminated. If you have any questions or need help, please feel free to contact us;
4. The Virtulook operation team has the final right of interpretation within the scope of the law.
For specific operations on refunds or exporting existing projects, please refer to the FAQ section at the bottom of the page.
Finally, thank you again for your support of Virtulook.
VirtuLook Operations Team
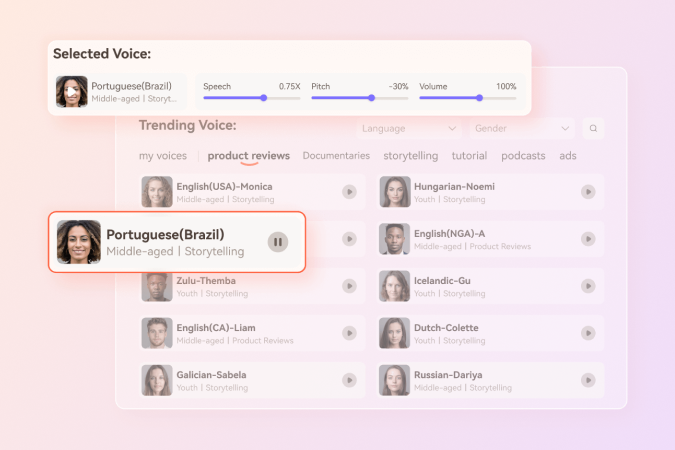
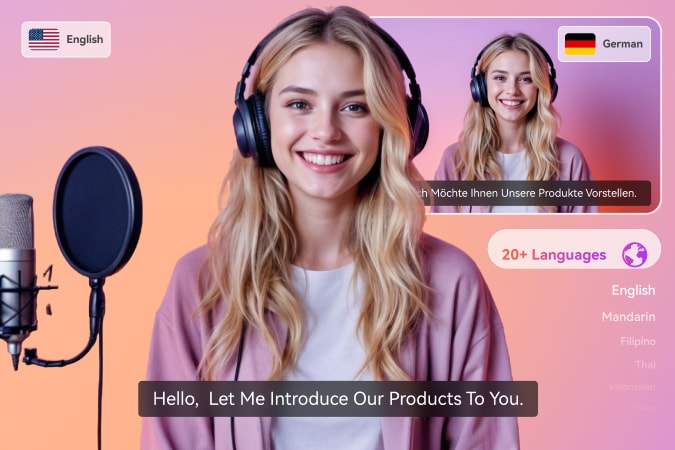
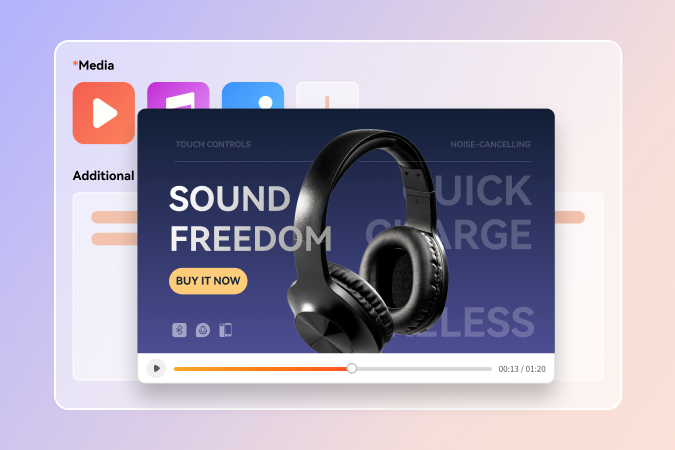
Maximize AI Video Potential with Virbo


Any Questions? We Have Answers!
1. Why can't I access VirtuLook anymore?
Due to our recent business strategy adjustment, we have decided to stop operating the VirtuLook platform. VirtuLook will be officially offline at 00:00 (UTC), January 14, 2025, and users will not be able to access or log in to the platform at that time. We apologize for any inconvenience caused. You can still continue to use VirtuLook by visiting virtulook.wondershare.com before the offline date.
2. How do I export my designs in VirtuLook?
After VirtuLook is officially offline at 00:00 (UTC), January 14, 2025, you will not be able to export your original designs. If necessary, please contact our customer service team and they will assist you in exporting all designs and materials within 7 days. Please make sure to include your VirtuLook account and password in your feedback message.
3. If I previously purchased VirtuLook, will I be automatically charged?
We have canceled the automatic renewal service for all paid users and will not charge any fees. You can verify this in the Account Center.
4. Does Wondershare offer similar creative empowerment tools as Virtulook?
Wondershare's Virbo platform provides a range of advanced tools to help you improve your video content creation efficiency. In addition, Virbo also includes some features not available in VirtuLook, such as digital human generation, photo speaking, and video generation. These features support free trials!
5. How do I get a refund?
Please contact our customer service team, who will handle the relevant matters for you as soon as possible according to our refund policy.
6. How do I contact customer service?
Click here to contact customer service. Our support team will respond to your request within 24 hours.